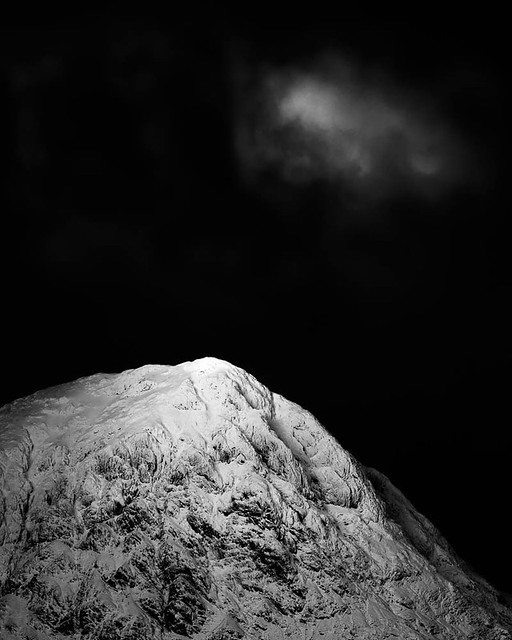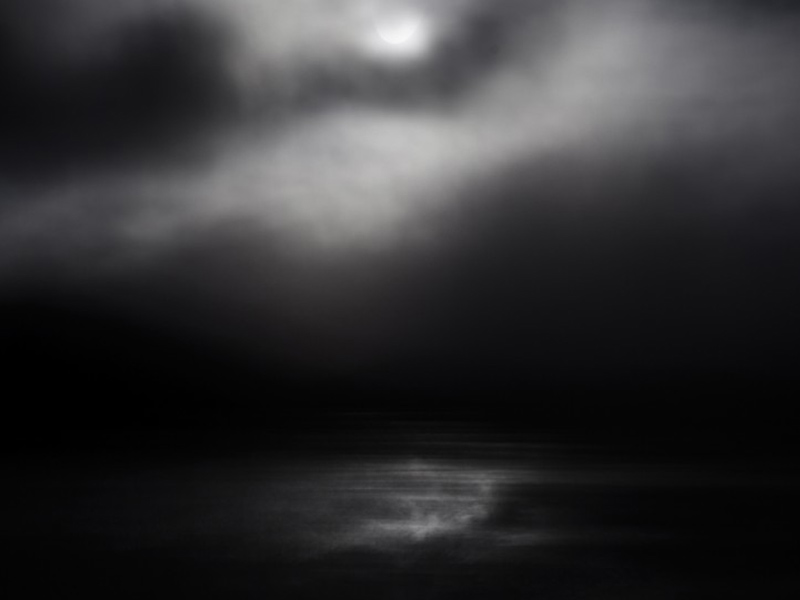

There is a particular quality of light that arrives on Uist in the late afternoon of a clear day in autumn — low, slanting, the colour of weak whisky — that lasts perhaps eleven minutes before it shifts again. If you are inside the house when it comes, you miss it. If you are outside but engaged in tug of war with Eddie and his current favourite bit of stick, you miss it. If you are walking the machair with someone and deep in conversation, you miss it. The light does not announce itself. It does not wait. It simply arrives, holds for a breath, and is gone.
This, I have come to believe, is the whole business of being an artist. Not technique, not gear, not even ideas in the first instance. Noticing.
I know I talk a great deal about seeing — about learning to see abstractly, to see beyond the obvious subject, to see the shape inside the thing rather than the thing itself. But seeing is the second act. The first is noticing that there is something worth seeing in the first place. And noticing, I am increasingly convinced, is the rarest faculty most of us possess and the one we most rapidly lose. I am convinced because I realise I am guilty of this myself.
The faculty we are taught to lose
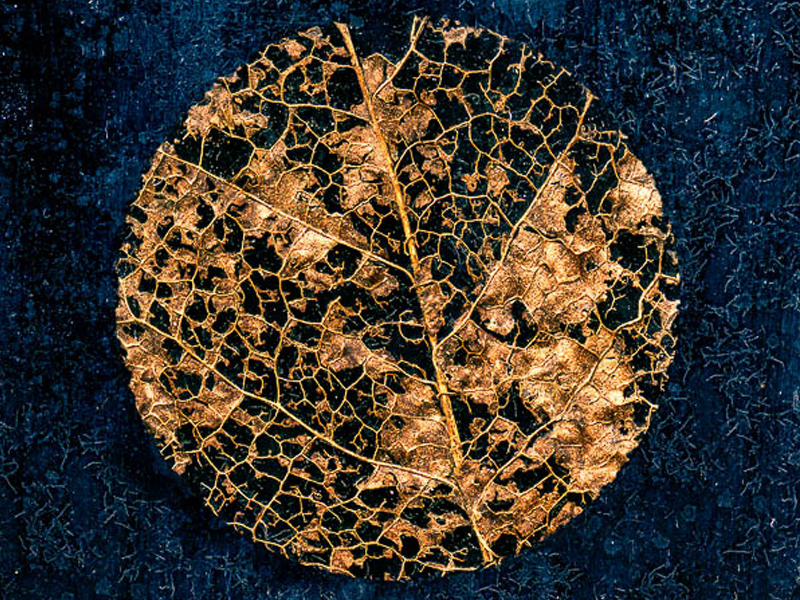
Children notice everything. A puddle is an event. A beetle on a stone holds them for half an hour. The way frost forms a feather on the inside of a window in winter is, to a child, plainly miraculous, because they have not yet been told it is ordinary. Somewhere between five and fifteen we are slowly taught that most things are not worth looking at, that the world has been catalogued already, that to stop and stare is faintly embarrassing. And so we walk through our days half-blind, sleepwalking past the small wonders, saving our attention for the screen, the schedule, the next thing.
The wonderful Scottish painter Joan Eardley, walking the cliffs at Catterline in all weathers, understood this. She would stand in a storm with her easel weighted down by stones, lashed by the same sea spray her neighbours were sheltering from, and paint what she saw. The villagers, kindly enough, thought her a little mad. She thought them, I suspect, a little asleep. Her work survives — those great heavy paintings of grey sea and grey sky — because she was willing to be the only one in the village still looking when everyone else had gone indoors.
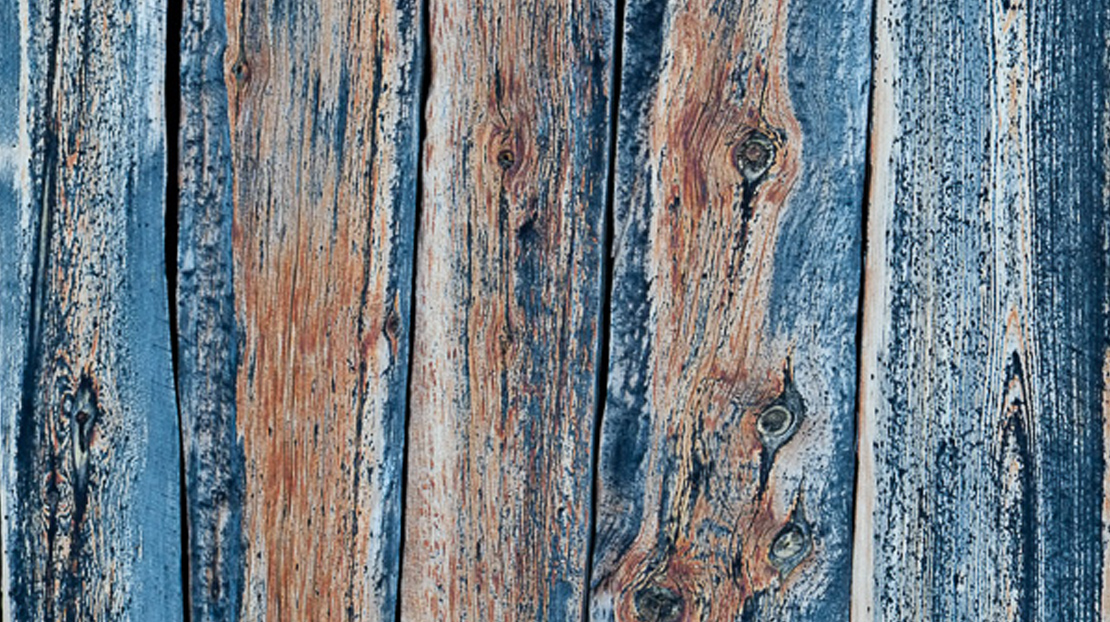
To make abstract work that comes from somewhere true rather than somewhere borrowed, we have to undo this gradual closing-down of the eye. We have to become, again, the kind of person who stops on a wet pavement because a slick of oil from a passing car has bloomed into a small Helen Frankenthaler at our feet. The kind of person who notices that the rust on a harbour bollard has the exact ochre of a piece of Antoni Tàpies, and stays there long enough to photograph it badly nineteen times before getting the frame they wanted. The kind of person who sees that the shadow of a fence post on grass in March is not grey but a complicated, restless blue.
What the great noticers had in common
The photographers and artists whose work moves me most are not, on the whole, the ones with the most expensive cameras or the cleverest software. They are the ones who appear to have decided, quietly and without fuss, to pay closer attention than anyone else in the room.
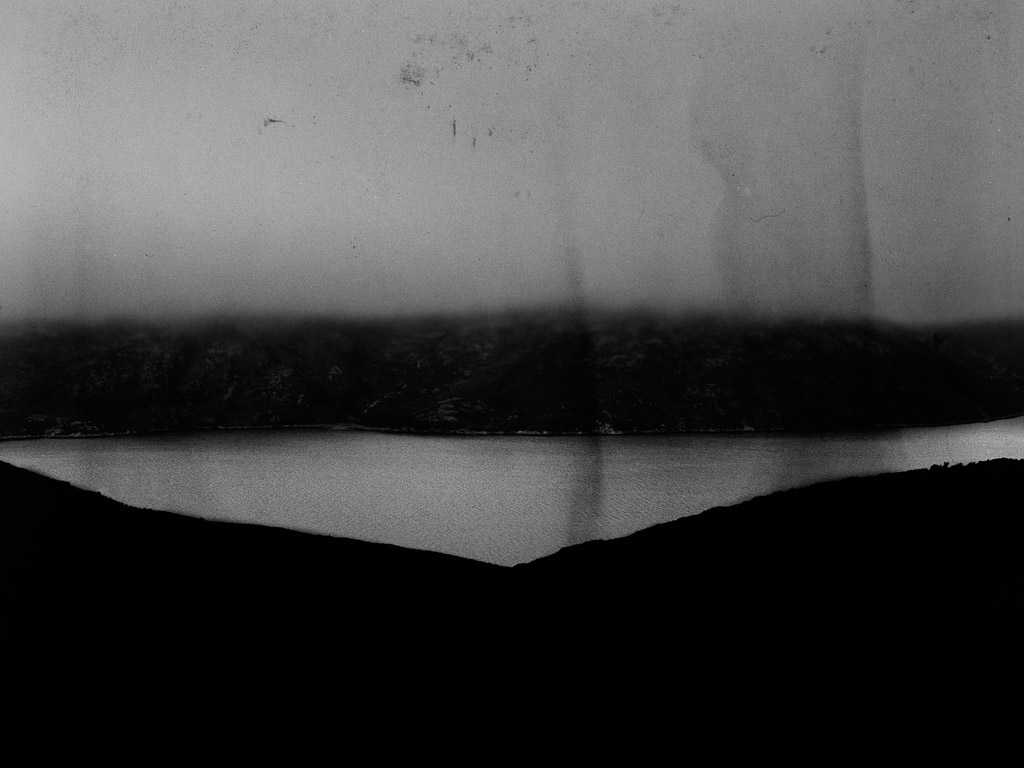
Agnes Martin walked alone in the New Mexico desert for hours at a time, looking at the line of the horizon until she could draw it from the inside. Her grids, which to a casual eye look almost identical, are in fact the residue of a lifetime of looking at very small differences — the difference between one pale band of sky and the pale band beneath it, the difference between this morning and yesterday morning. The work is the noticing made visible.
Wilhelmina Barns-Graham went to Switzerland in 1949 and stood inside the Grindelwald glacier. She wrote afterwards of feeling its weight, its interior light, the way the ice held blue and green and white all at once. The drawings and paintings that followed — those marvellous ringed and folded forms — were not invented. They were noticed, and then translated.
Raymond Moore — that quiet English photographer of edges and margins, of caravan parks and harbour walls and the awkward joins between things — spent his life photographing what no one else thought worth photographing. He once said that the photographs he made were of “things found, not things sought”. The distinction is everything. A thing sought is a thing already imagined. A thing found is a thing that was waiting for someone awake enough to see it.
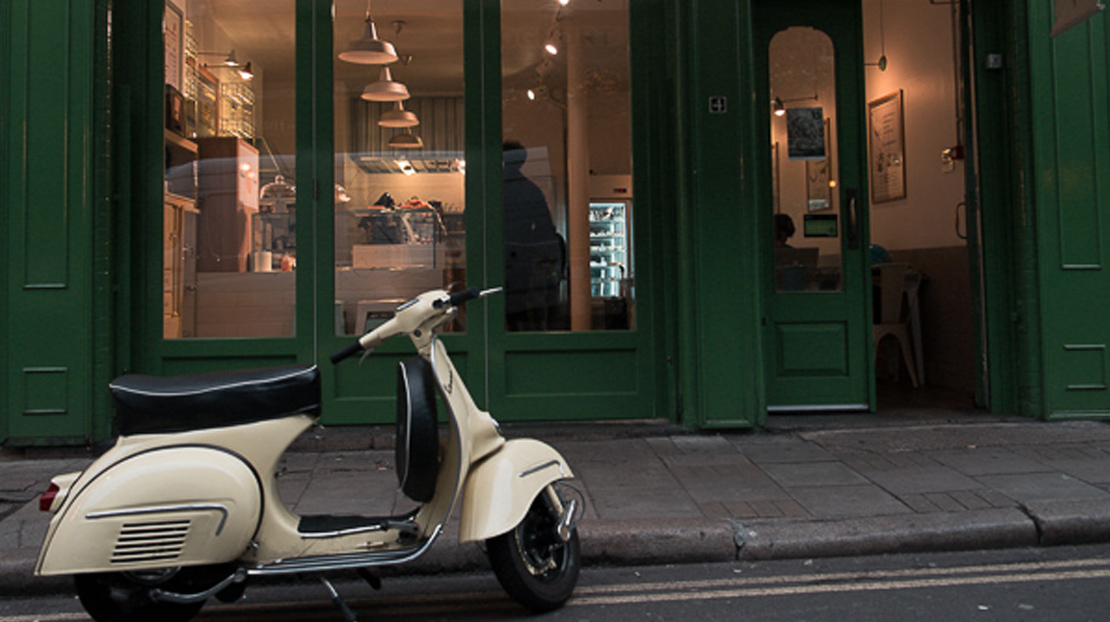
Or take Saul Leiter, who lived in the same few blocks of New York’s East Village for sixty years and never ran out of pictures. The same streets, the same windows, the same red and yellow umbrellas in the same falling snow. What he had was not novelty of subject but depth of attention. He looked harder than anyone else at the place he happened to be.
There is a thread running through all these artists, and it is not technique. It is patience of the eye.
The Hebridean education
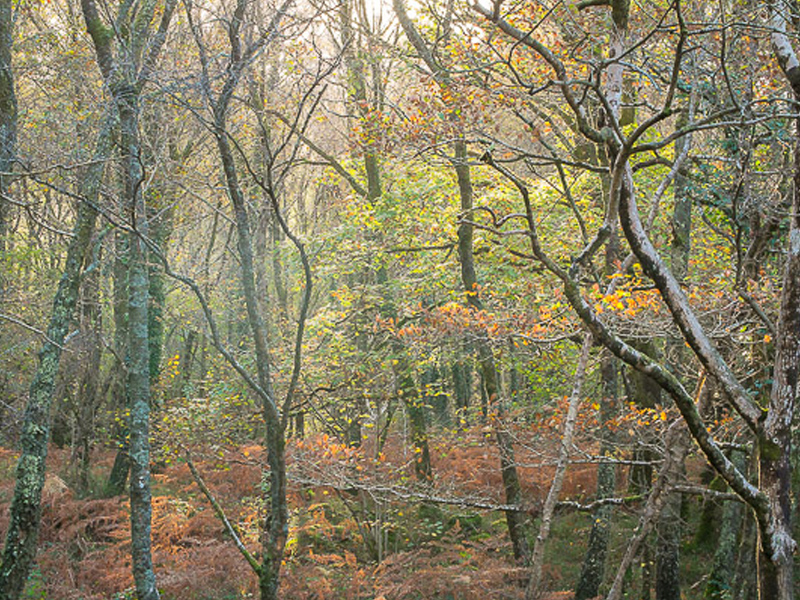
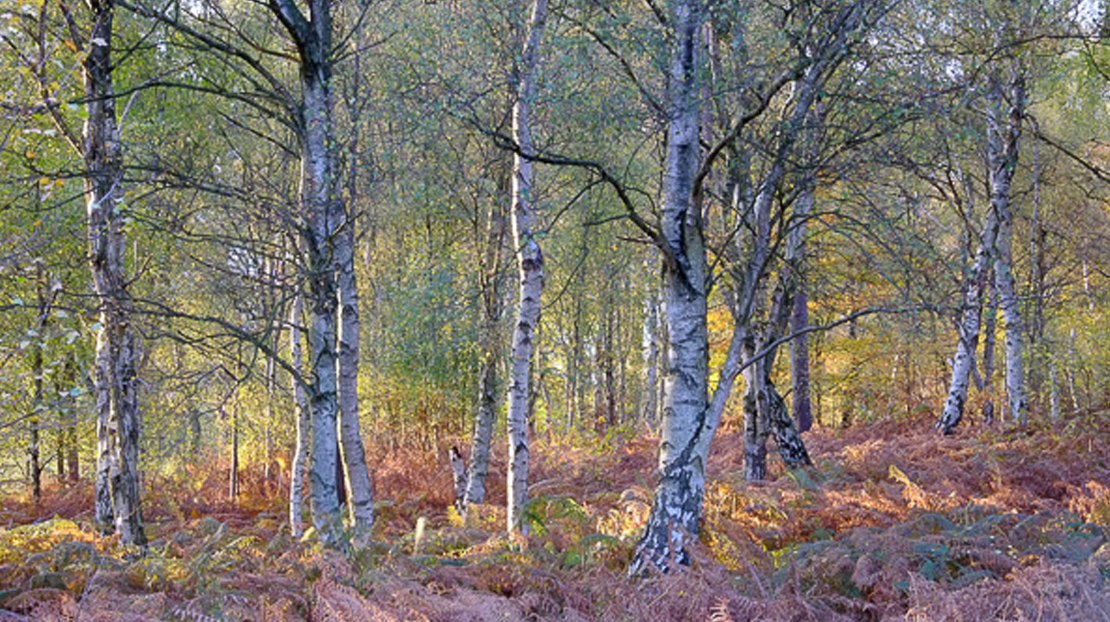
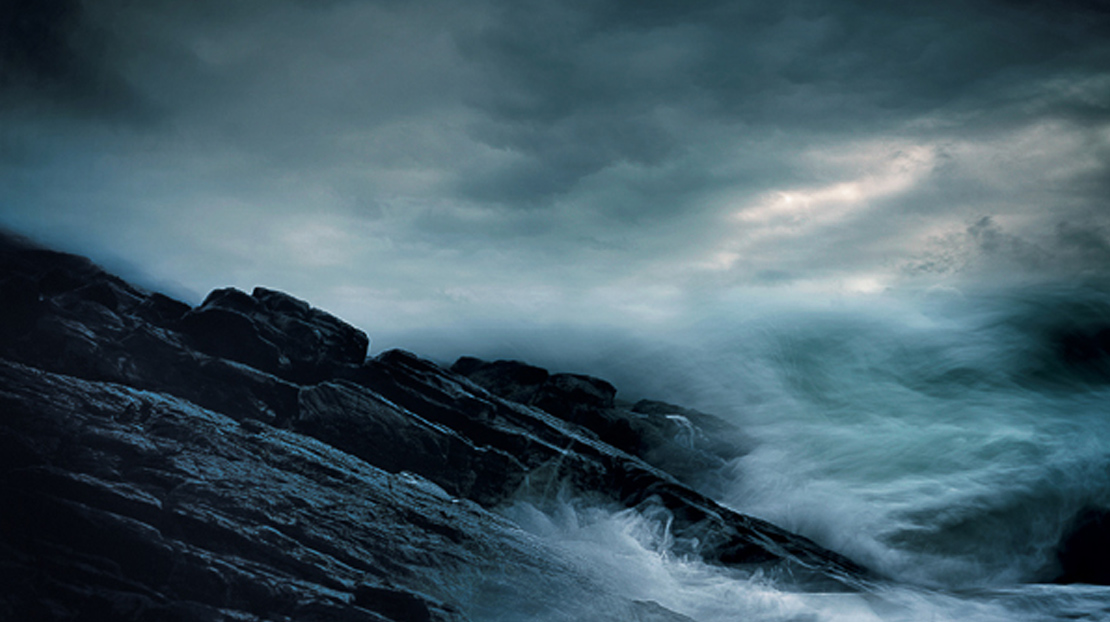
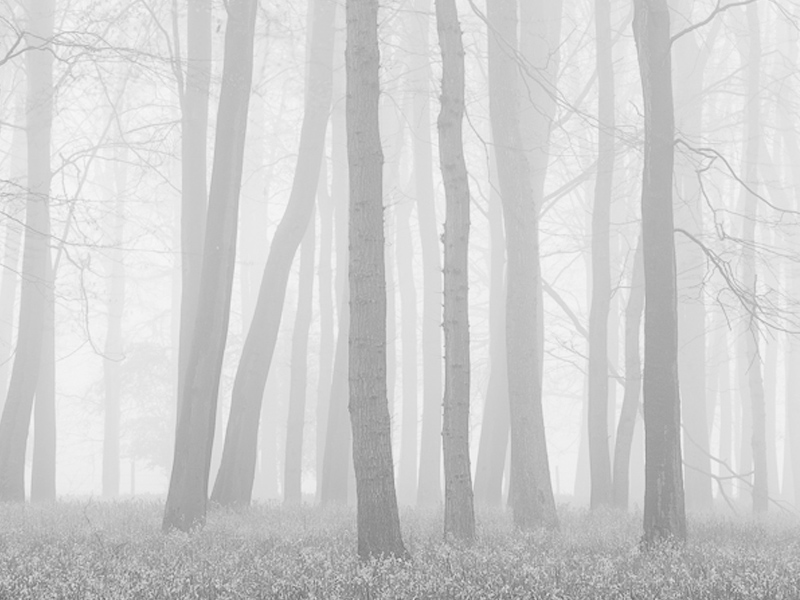
Out here on North Uist, noticing is made easier by emptiness. There is less to distract you. A decaying old corrugated iron sheep shed dissolving into the Machir can hold your attention for the whole of a morning. The Atlantic does not move the way the North Sea moves, and once you have noticed that, you cannot unsee it. The sky changes character three or four times an hour, and after a year of living under it you begin to know its moods the way you know the moods of a person you live with.
The Gaelic-speaking poets of these islands understood noticing as a serious discipline, long before any of us came to it through cameras. There is a word in Gaelic, dùthchas, that has no clean English equivalent — it means something like a deep, inherited belonging to a particular place, a knowing of it in the bones. The Uist poet Aonghas MacNeacail and, before him, Sorley MacLean from Raasay, wrote out of that kind of knowing. Their poems are full of small, exact noticings — a particular stone, a particular angle of light on a particular slope, the way the wind comes off a specific stretch of water — that could only have been written by someone who had stood in that place long enough to be quiet inside it.
This is the lesson the island teaches, slowly, to anyone who will listen. That noticing is not a quick flick of the eye. It is a kind of staying. You have to be willing to remain in front of a thing long enough for it to begin to speak. The first thirty seconds tell you almost nothing. The first thirty seconds are mostly your own mind, still chattering, still labelling, still moving on. It is the second minute, and the third, and the thirtieth where the thing in front of you begins to come forward and reveal what it actually is.
The Buddhist teacher Pema Chödrön talks about staying — staying with discomfort, staying with boredom, staying with whatever is in front of you instead of fleeing into the next thing. I think the artist’s version of staying is exactly this. To remain in front of an ordinary subject long enough for it to stop being ordinary. To outlast your own boredom. To let the world begin to disclose itself.
Noticing without an island
But you do not need an island. You need a willingness. Noticing is, in the end, a small daily act of disobedience. It is refusing the speed the world is asking of you.
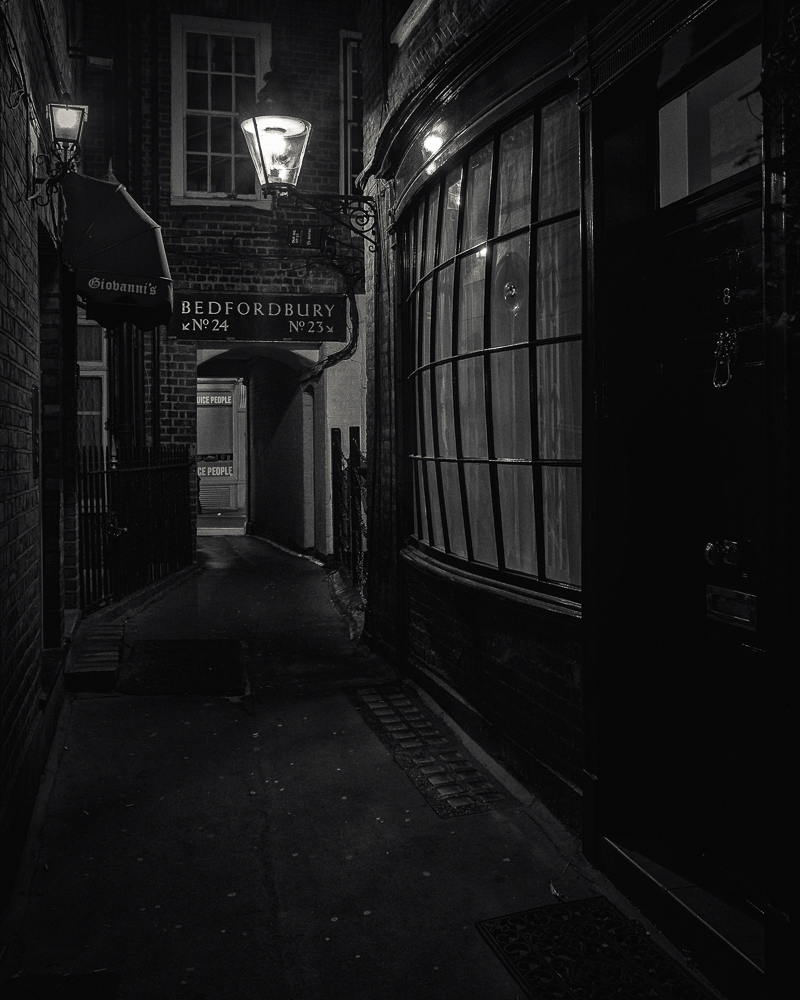
It is standing in front of the kitchen sink in the morning and seeing that the water coming from the tap, lit by the window, holds within it every silver Hiroshi Sugimoto ever made. It is walking the same lane you have walked for ten years and finding, today, that the moss on the stone wall is a different green than it was last week, and wondering why. It is sitting in the car park outside the supermarket for a minute longer than you need to, because the puddle by the trolley bay has a sky in it. It is the bus shelter at dusk. The condensation on the windscreen. The way the strip light in the corridor at the dentist makes the carpet look like a Mark Rothko, if Rothko had ever painted carpet.
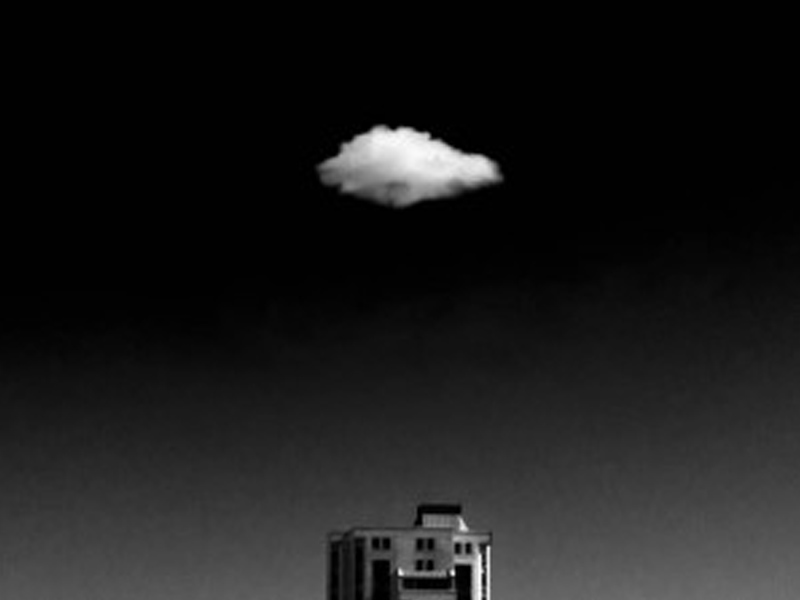
The Surrealists, for all their theatrical nonsense, were right about one thing: that the marvellous is hiding inside the ordinary, and that most of us walk past it because we have been trained to. André Breton’s idea of ‘le merveilleux quotidien’ — the everyday marvellous — is a phrase worth keeping. It is not that extraordinary things are happening in extraordinary places. It is that extraordinary things are happening everywhere, all the time, and our job is to be the one person on the street who saw it.
The American poet Mary Oliver, who built an entire body of work out of walking the same New England woods over and over, put it as plainly as anyone ever has. “Attention,” she wrote, “is the beginning of devotion.” Not a bad sentence to keep pinned somewhere in the studio.
Why the camera comes second
There is a danger, of course, in being an artist who works with a camera, which is that the camera can become a substitute for the eye. We can lift it before we have looked. We can begin clicking before we have noticed. We can produce a great quantity of images without ever having paid attention to anything.
This is the difference, I think, between a photograph made by someone who was barely there and a photograph made by someone who stopped, and breathed, and saw. The first kind is everywhere — Instagram is largely a vast warehouse of them. The second kind is rare, and you know it when you encounter it, because it carries something across to you that no amount of technique can fake. There is a person behind it. There is someone who was awake.
This is why I keep returning to the idea that the picture is only ever as deep as the looking that led to it. A photograph made in haste, by an eye that has not paused, will look like exactly that — no matter how perfectly exposed, no matter how cleverly processed. And a photograph made by someone who has noticed, deeply, before lifting the camera, will carry that depth into the print. Other people will feel it even if they cannot say why.
Robert Adams, the great American landscape photographer, wrote that “form is beauty made visible”. I would add to that, perhaps, that form is also noticing made visible. The form of a good photograph is the trace of an act of attention. You can read the quality of the looking in the bones of the picture.
A small practice
So I would offer, this week, a small assignment. More a habit than a task.
Once a day, for the next seven days, find one thing that you would normally walk past, and stand with it for a full minute. Do not photograph it. Do not write about it. Just look. See what happens to it, and to you, in that minute. See whether the first thing you noticed about it is still the most interesting thing about it after sixty seconds. (It almost never is.) Notice where your eye goes when you let it wander. Notice what you notice second, and third, and fourth, after the obvious thing has worn off. Notice what you feel. Notice what you remember.
If you want to extend it, do the same exercise in the second week, but this time choose somewhere you go often — your own kitchen, the path to your car, the view from your sitting room window — and treat it as if you had never seen it before. Pretend you have just arrived from somewhere else, and this is the first time. You will be astonished at what has been there all along, waiting.
Then, in the third week, take your camera out. But carry the same minute with you. Before you lift the camera, stand. Before you press the shutter, stay. Let the noticing come first, and let the photograph be the natural consequence of it, rather than a substitute for it.
You will find, I think, that the work changes. Not because you have learned anything new about exposure or intentional movement or layering, but because you have remembered something old. That the world is, and always has been, quietly extraordinary. That most people are not looking. And that the small, stubborn act of looking anyway — of being the one who notices the eleven minutes of whisky-coloured light, the oil slick on the pavement, the moss that has changed colour since last week — is, perhaps, the most important thing we do as artists.
Everything else, in the end, is only the work of carrying that noticing across to someone else.
If this is the kind of looking you have been hungry for, FYV is a small community of photographers who are quietly leaving the rules behind and finding their own way into more painterly, more abstract, more personal work. We would be very glad to have you. You can find out more here. You can use the code VISION15 to get 15% discount on the annual membership on top of the usual two free months, and two-week free trial period.