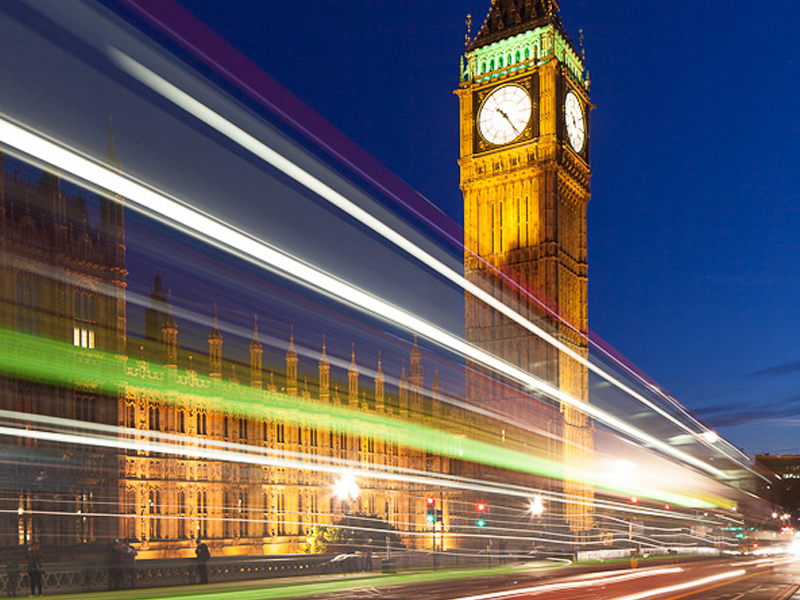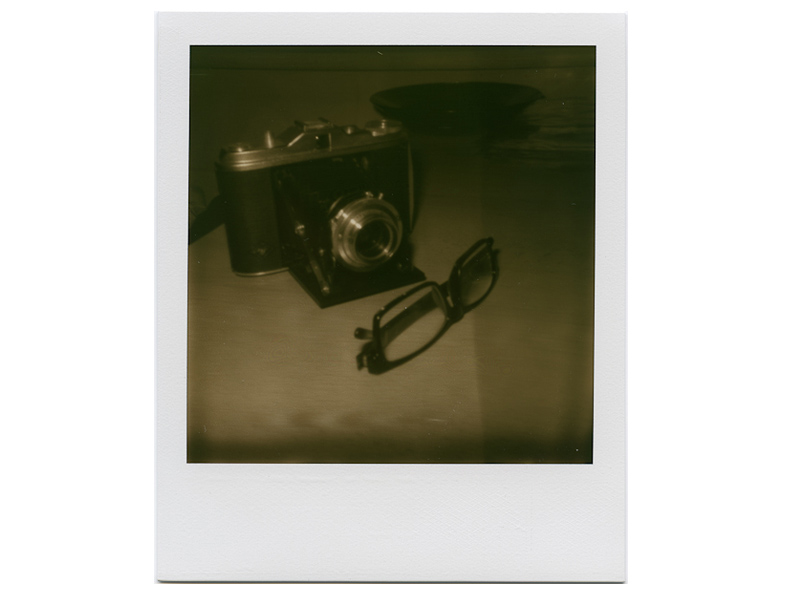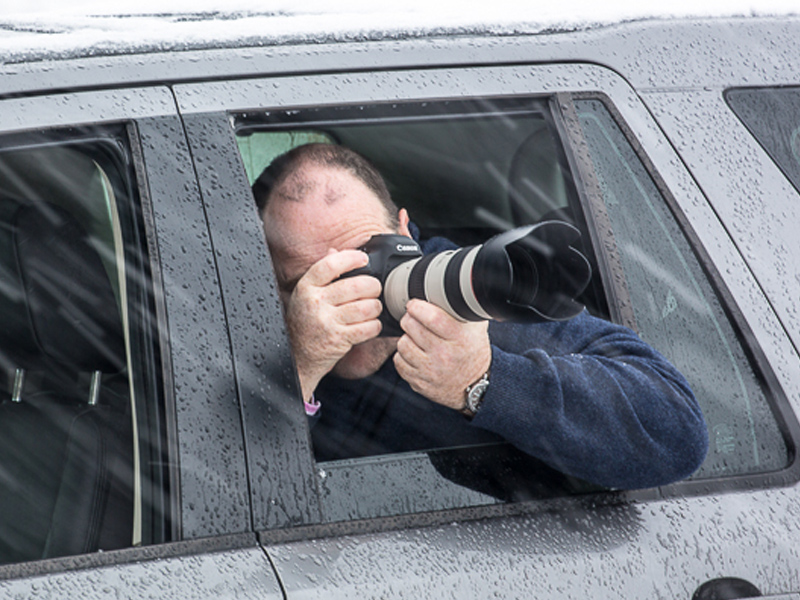

Drive by Shooting - Image Courtesy of ©John Birch 2013
I have been using the 5d mk2 quite happily for a couple of years and had seen no reason to upgrade when he mk3 was released. I am not one who always has to have the very latest model of everything, unless there is a very good reason for it.Having a go with customers Mk3’s showed me it was better made, had a better screen and weather sealing and some nice refinements ergonomically such as the grip shape and position of the depth of field preview button. Nice though these things were, they weren’t a huge leap forward and so I contented myself with my faithful mk2’s.
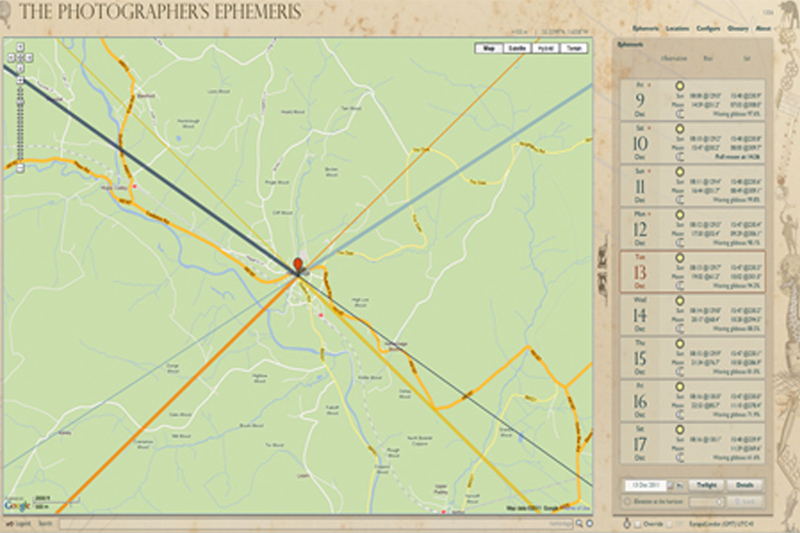
That was until a customer, accomplished photographer Valda Bailey, came onto a workshop up in Northumberland in January. (You can view her work on her website, and you should (its really good) HERE ) She is a creative photographer and was experimenting with a feature buried in the menus which is not well known. Exposure blending. Some of you may know Chris Friels work and will have seen he has been using the same feature on portraits. Valda didn’t really show me what she was getting over the weekend until we had breakfast on the last morning when she bought her laptop into the cafe. She asked me to have “a quick look before I delete them”.
So I did.
What I saw made me stop eating my breakfast.
Very little stops me eating breakfast. Cafe on fire. War maybe. Little else. I was astounded. I thought I had got some nice images from the weekend as we had had wonderful light and atmospheric weather but on seeing hers I felt like formatting my cards. The images were astoundingly good. Hang on my wall good. I don’t think she believed me. But I don’t butter people up, I tell them honestly what I think, without being unkind – I believe in constructive comments, but these deserved unbridled praise. I wanted a mk3. I wanted one right there and then.
Then I broke my leg.
This had two effects. Firstly it meant I would be able to go to Focus on Imaging at the NEC, the biggest photography trade show in the UK, which I would have missed as I was due to lead a workshop on Skye, but the broken leg meant that was now possible. The show is the best place to buy gear at low prices generally speaking. The other, negative, effect was, although I could now go to the show (and be pushed around it in my wheelchair by my mates Carl & John) I was now unable to work and so cash was a real issue. Very frustrating. Until my card provider stepped in with 18 months interest free credit, so problem solved (well, problem delayed, lets not fool ourselves!)
And so it was I became the proud owner of a Canon 5d mk3, along with a free battery and 16gb compact flash card, plus £160 cash back from Canon. This bought the price down, effectively, to under £2k. A very good deal. Now at the show there were two companies offering the same deal. Calumet and Cameras Direct (if I remember rightly). However, Cameras Direct were also giving you a free copy of Adobe Lightroom 4 as well, worth around £100 at Amazons prices. So why did I buy from Calumet? Well, I have Lightroom 4. But I could have sold the free copy and made some cash. However, I knew of Calumets reputation. They are known for being suppliers to professionals. Solid. Dependable. They are known for good service, so I opted for them.
Boy am I glad I did.
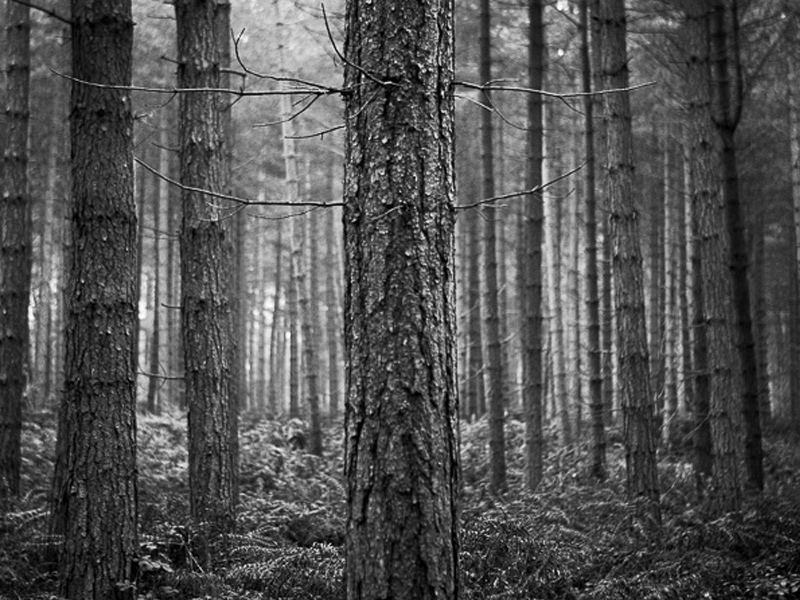
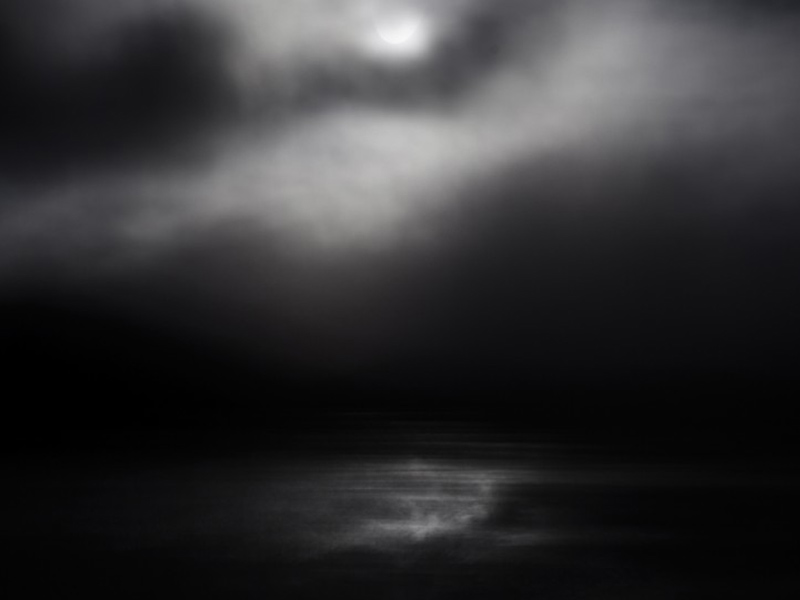
On my first trip out with the camera (you can read John Birches blog post about he trip HERE – it’s a great read, and his blog is well worth following generally, well written and authoritative. He knows what he is talking about) I started to see an intermittent fault with the camera. You can see here some images which show the problem.


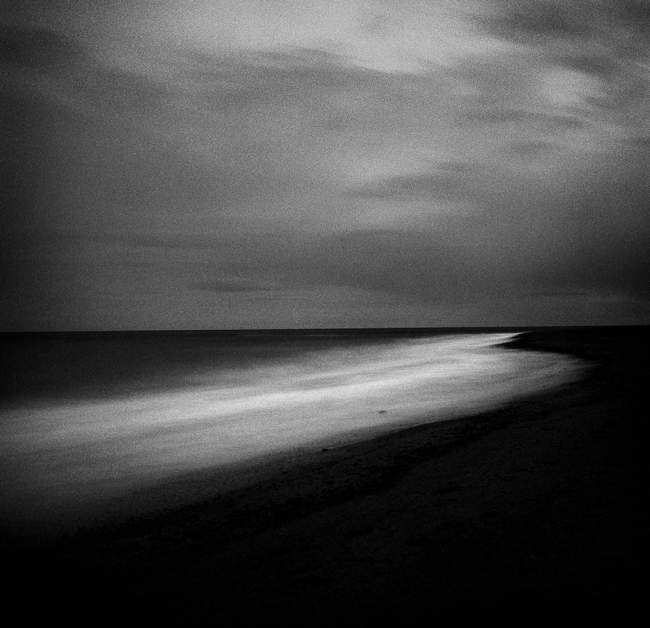
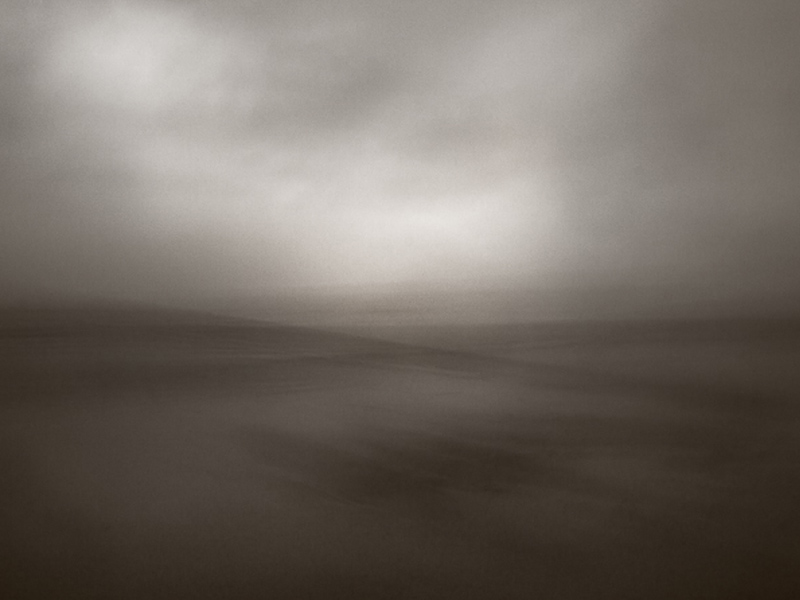
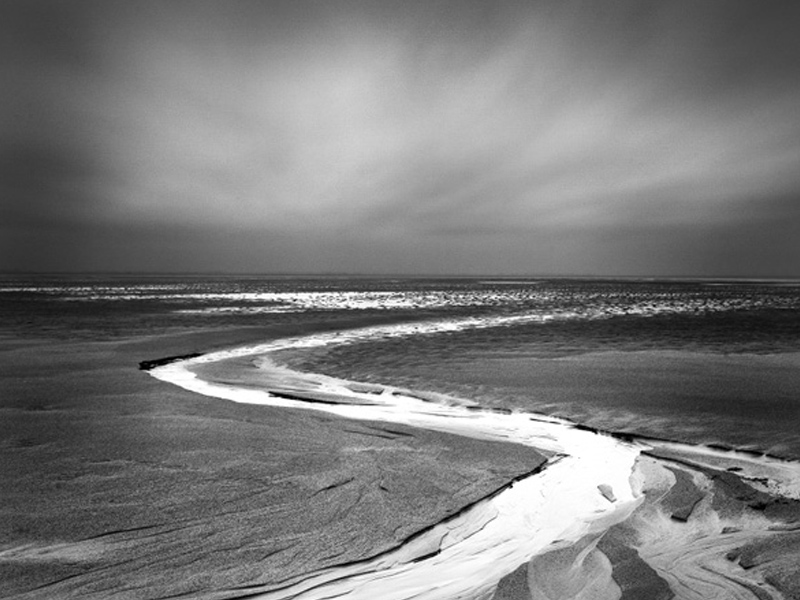
Winter Wasteland - The shot I was after!
I think either the mirror was not lifting quickly enough or he shutter curtain was sticking, and thus shadowing on images. It would happen to a group of about three or four images and then wouldn’t occur for another hundred shots or more.
Straight away I tweeted to Calumet about the issue but to no response. It seems they don’t man Twitter at weekends (this might be something you need to address, Calumet, Twitter is 24 hours). Because I have about 1000 followers on Twitter (you can find me on Twitter as @dougchinnery), most who are photographers, this started to generate traffic as you can imagine with theories about the problem, possible solutions and so on.
On Monday morning I emailed the company with a description and images of the problem and a few minutes later, via Twitter, had a tweet asking me to call them. The phone was answered in two rings. This pleased me. A person answered. Still good. I explained the issue and without hesitation she said, “no problem, I will get FedEx to collect it today to bring it back for us to look at”. I was very impressed by the FedEx collection. Most companies tell us to pack it up, drive to the Post Office and send it back to them by Special Delivery at our cost and risk (about £20 to £25 for a camera). I was hoping she would say we will replace it, but accepted they would want to take a look first. A couple of minutes later (literally) I got an email from Laurence at Calumet. He had seen my email and images and said, “we will collect it today and send you a new replacement”. Result.
Then things got a bit surreal. Ten minutes after that who should knock at the door but the FedEx man. I hadn’t even boxed up the camera. When I opened the door I told him it felt like I was in a FedEx commercial (his uniform was well pressed and he was smiling and rather TV adverty-looking). All it needed was the sun to come out, birds to start singing and an orchestra to start playing and the cameras could roll.
In my rush to pack the camera for him I left the Calumet battery in (not the genuine Canon one) and my 16gb card in he camera. Doh!
I won’t bore you with all the details but Laurence at Calumet remained my single point of contact throughout. He replied to every email within two or three minutes. Everything he said he would do he did. He was superb. Whatever you are paying him, Calumet, it is not enough. They got a new camera to me in less than 48 hours. They even went to the trouble and cost of FedEx’ing my battery and CF card back to me. It was all done with courtesy and efficiency. It is, quite simply, the best service I have had from a photography related supplier ever.
Needless to say they now have me as a loyal customer. Yes, they may not always be the cheapest. But ask yourself when you buy that lens from a supplier in Hong Kong on eBay that has a fault. Will the hundred quid or so you saved seem like such a good deal when they ask you to post it back to Hong Kong? When Canon or Nikon in the UK won’t honour the guarantee because it is a grey import. (They will fix it, they just won’t do it under guarantee). It is rare these days for modern electronics to fail, but when they do, it’s a pain. I am so pleased I opted for Calumet and will be an evangeliser for them now. I don’t know how the other outfit would have handled my problem, but I can’t see how they could have done any better unless the MD had hand delivered it in his Bentley same day.
So, my message is. Consider using Calumet in future, especially for major items (they also do lens and body hire). Also, beware grey imports. They are cheaper for a reason. Often we get away with it, but it only takes one issue with a body or lens to wipe out the savings we have made on several items over the years in hassle and grief, if we ever do manage to get them to sort it.
I also love FedEx. And the driver really was like a bloke from an advert. It was a bit surreal. No orchestra though. Shame really. I would have liked to have heard music.

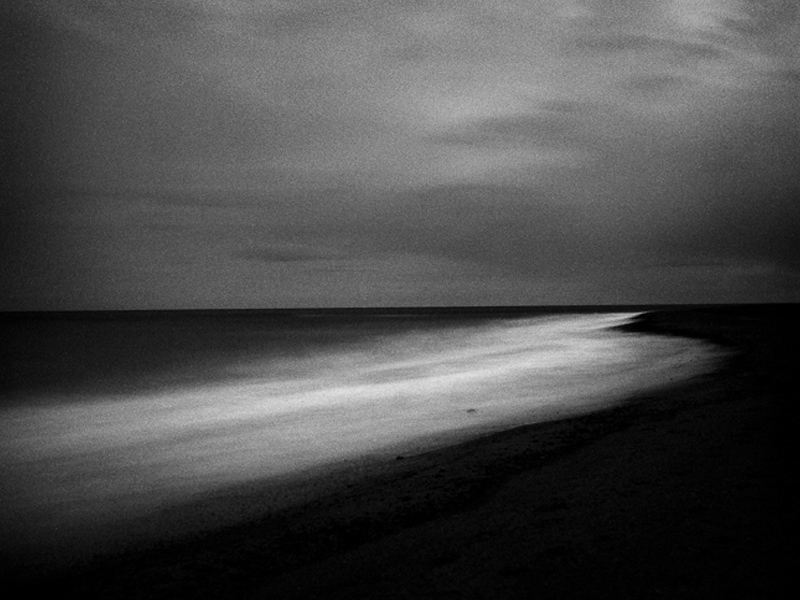
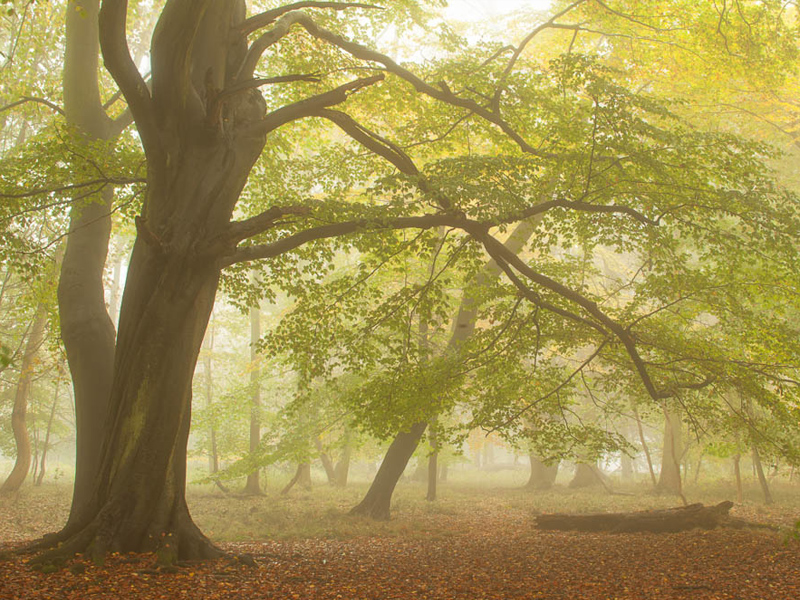
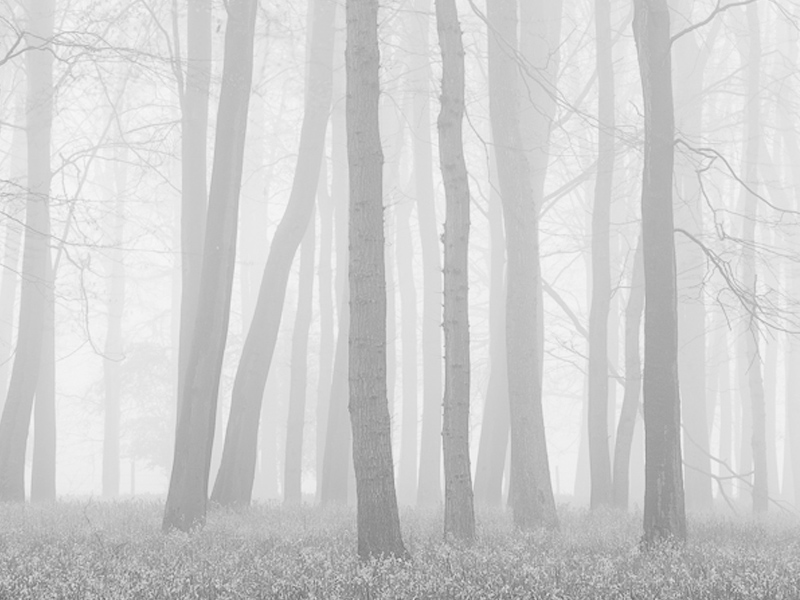
Tree in a Blizzard - Shot from the Car