Tag: white

Stand Developing Film

stand developing

If you follow me on Twitter (@dougchinnery) or Flickr you will know that in addition to shooting on film for my personal creative work, I have also started developing my own black and white film myself.

It costs about £3.50 to have a mono film processed and supplied in negative strips ready to scan into the computer by a commercial firm. Processing the film myself reduces this to just a few pence per roll.

It was recommended to me to start with a simple process called “Stand Developing”. This is a basic process which is ideal for beginners before you move on to more standard techniques. 

Usually in processing film the chemicals are kept at a instant temperature throughout and the film is ‘agitated’ in the liquid to ensure fresh developer comes in contact with the surface of the film throughout. Then, after a set period (of just a few minutes) the developing fluid is removed and another chemical is added to stop the development, otherwise the film can be damaged. Finally, the film is washed and dried, ready to scan.

Stand development takes a different approach. The developing chemical is mixed with water at a very dilute concentration, I have been using 1:100. The film is then left to stand in this fluid for an hour. As the developer is so dilute it first brings out the highlights in the images and as its effectiveness reduces it slowly brings out shadow detail. By the time an hour has passed it is almost expired and so no stop chemical is required, just water to wash it off the il before the fixing chemical is applied for a few minutes followed by a final rinse.

The developer I use is about the oldest available and is called Rodinol (R09). It has been in use for over 100 years and is readily available. For the fixing and rinsing I use Ilford chemicals. All are safe to be disposed of own the sink after use (although the fix chemical can be stored and reused many times).

People have asked me if you need a dark room to process film and the answer is “no”. The only part of the process which needs darkness is lading the exposed rolls of film into the developing tanks and this is done in a dark changing bag. These have two arm holes so you can out all you need in the bag, seal it, and then load the film in darkness with your hands in the bag. This is a bit tricky for the first couple of times but you soon get used to it. The developing drum will, in my case, take two rolls of 120 film at a time and is cleverly designed to allow you to add and pour out liquids without letting any light into the drum.

So here is the recipe I have been using. Please note this is ONLY for black and white film. Please also note, contrary to developing film by other methods, you can mix film types in the same developing drum with this method. Normally, if you are going to develop several rolls of film together (I have a drum that allows me to do three films at one, for example, to save time) you have to keep the film types the same. So three rolls of Ilford HP5 for example or 3 rolls of Tri-X. 

First, load your film onto a reel in the processing drum inside a changing bag. Then carefully measure out 5ml of Rodinal. I use R09. To measure it accurately I use a small medical syringe with a ml scale on the side. Mix with this 500ml of tap water. (if you are using a drum with more than one roll, use 500ml per roll) There is no need to use warm water for this as you do with most developing processes as the water is standing for so long, warm would go cold anyway. In winter I would add some warm water to the very cold tap water just as a precaution. Pour this into the drum and agitate the drum  for 30 seconds. By ‘agitate’ I mean invert and twist the drum in your hands repeatedly. Don’t just shake the drum but really move the liquid around so it has plenty of contact with the film. At the end of this period of agitation, tap the drum a couple of times on a firm surface to dislodge any air bubbles from the surface of the film and let the drum stand for 30 minutes. After 30 minutes just agitate the drum again 3 times only and then let it stand for another 30 minutes.

Once the last period of standing is up, pour the liquid down the sink but DO NOT open the drum yet. Fill it with cool tap water, agitate 5 times and pour away. Repeat but agitate 10 times and pour away. Finally repeat and agitate 20 times then pour the water away.

Now pour in 500ml (per roll of film) into your fixing solution. I use Ilford Rapid Fixer. This comes concentrated and so I mixed it with water at a ratio of one part fixer to three parts water in a clean storage bottle. Start a stopwatch (I use the one on my iPhone) and agitate for 30 seconds. Tap it and let it stand for 30 seconds. Then agitate it three times, tap it and let it stand for a minute. Repeat the three agitations on each minute until a total of 6 minutes has expired then pour the fixer back into its storage bottle as it can be reused many times.

Then fill the drum with water from the tap, agitate 5 times and pour away, repeat but agitate 10 times and then do it once more but agitate 20 times.

Finally, I fill the drum with a mix of water and a wetting agent. I use a tiny squirt of the Ilford wetting agent (some people just use washing up liquid). The amount you need in 500ml of water is tiny, just a couple of ml. Agitate the drum 40 times and then pour the mix away.

Open the drum and remove the spool with your film on. Do not wash the suds off of the drum under the tap as this will ruin the effect of using a wetting agent (which is to stop the tap water leaving smears on the film due to water hardness). Simply place a finger on each flat surface of the film and run them down its length to remove most of the water and wetting agent suds. Then I use a piece of clean chamois leather and run this down the film to dry it some more. What is vital when you do this is that there is no grit on your fingers or the chamois as this will scratch your film. Hang the film to dry slowly from a line. I use a bulldog clip to clip it to a wire I have put up in my bathroom. As dust free a place as possible is best for this (so not by the dogs bed!)

Once the film is dry you can cut it into frame lengths to suit your scanner. My scanner (an Epson V700) has holders which take two strips of three frames of 120 film so I cut a roll into four strips of three frames per strip. Now you can scan the images in and see what you have.

On reading this it may sound really complicated and long winded. It did to me when I was researching the process. However, once you have developed two or three films you will know the process by heart and be doing it without thinking. It is great to see your images emerge from the drum and to be part of the whole process from capture to final image. It also means I can go out and shoot and within an hour and a half of getting home I have my images in Lightroom – not quite the instant feedback of a digital camera but as close as you can get with film.

This process is about the simplest way to develop black and white film. The process tends to bring out the grain in the film. It also produces high contrast negatives. The blacks are often rich and dark while the highlights bright and punchy. You need to be bear this in mind if you want low contrast negatives which are more ‘subtle’. For these, Stand Development may not be the best choice.

I buy my chemicals from AG Photographic http://www.ag-photographic.co.uk/ They are a small UK firm who give good service and are very helpful on the phone if you have any questions.

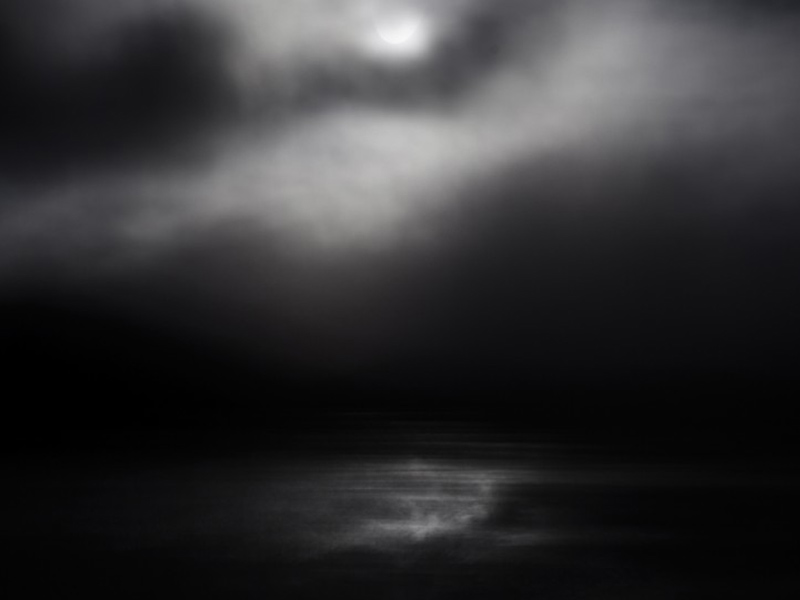
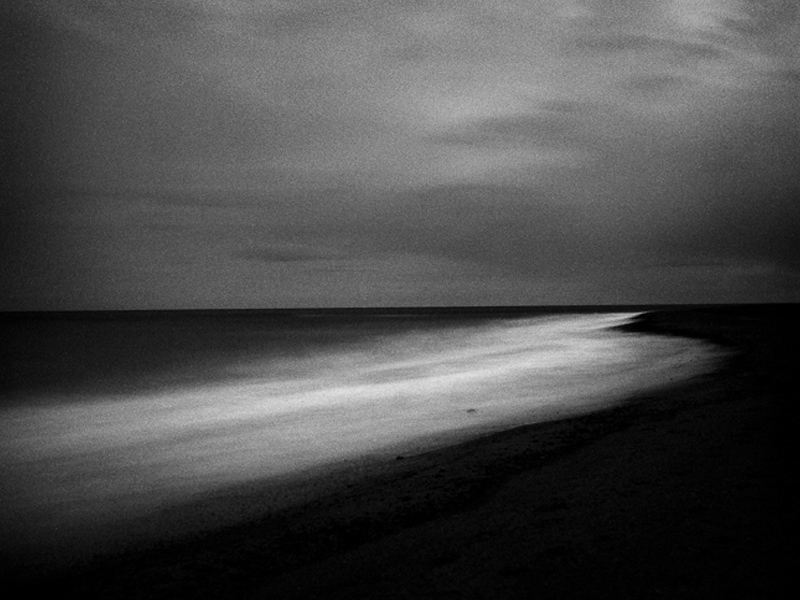
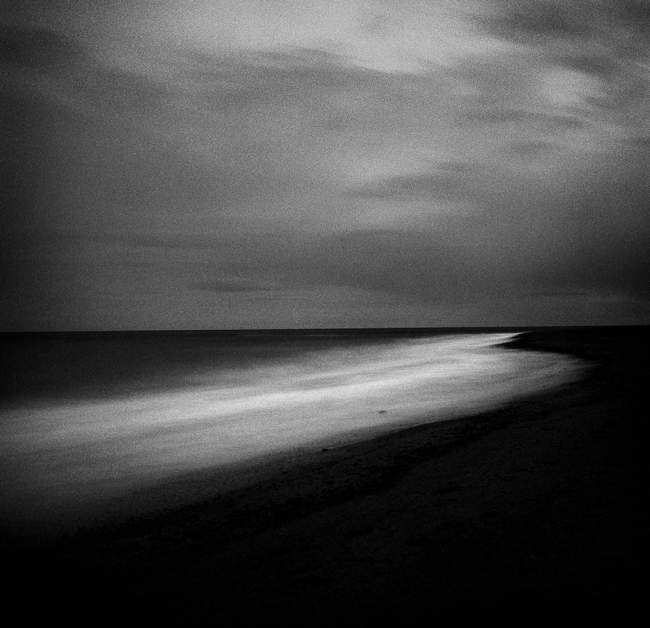
If you are just getting in to analogue photography or are interested in trying stand developing as a new tool in your film processing arsenal, I hope you have found this post to be helpful. (the image below was Stand developed)
New Exhibition of My Work

Dark Light

New Exhibition - "Dark Light"


I have been to Gainsborough today to hang my new solo exhibition entitled, “Dark Light”

It is being hosted at the Trinity Arts Centre in Gainsborough and is an exhibition of monochrome photographs. The Arts Centre is a council run location dedicated to the promotion of the arts in North Lincolnshire. The gallery space doubles as a mingling and bar area outside the main theatre and so is ideally placed for people visiting for performances to browse the images. If you happen to live in or near Gainsborough I would love you to pop in and take a look, but please don’t make a special journey.

The exhibition consists of 16 images (it was planned for 22, but the gallery didn’t have enough hanging clips to put all of the images up, requiring an on the spot rejigging of my hanging plan – the joys of exhibiting!). Here are a few iPhone images from the venue to give you a feel for what it is like.

Trinity Arts Centre Gallery

Main Wall

Side Wall

The Curved Wall

Here is a quick montage of some of the images on display

Montage 1

Montage 2


If you would like to go and see the exhibition, the gallery is free of charge. Opening times are;

Monday – Closed

Tuesday – Closed

Wednesday – 10.30 – 3.30

Thursday – 10.30 – 3.30

Friday 10.30 – 3.30

Saturday – 9.30 – 2.30

Sunday – Closed

The gallery is also open for performances – see the Trinity Arts Centre web site or Facebook page for details.

The address is

Trinity Arts Centre

Trinity Street

Gainsborough

DN21 2AL

(There is a car park (free) at the back of the centre but its a bit tricky to find. Drive past the centre on your right and go a few more yards to the roundabout where the big Tescos is and turn right. The road bends around to the right as you go around the corner you will see a row of terraced houses ahead on your right. Immediately after them is the entrance to the car park).

If you ever get the chance to hold your own exhibition, what do you need to know?

The first thing is, don’t expect to make a lot of money from sales. Its a sad fact in the UK that most people don’t value photography as art and as a result are very reluctant to put their hands in their pockets to buy images. If you have tried selling prints from your website you have perhaps realised this. True, some do make a good amount of money from print sales but this is usually because they are a big name and their images are of the very finest available or their name alone makes the images collectable. In fact, expect to make a loss if you hold an exhibition. The costs to hold one are high. For a start, many galleries charge you a fee to exhibit, whether you sell or not. They also take a commission on any sales and this can be from 25% to 60% of the sale price. Now factor in your printing costs (whether home printed or outsourced), framing costs and your time getting it all printed and framed. You also have to make labels for each image (mounted on foamex board) as well as writing an artists statement, designing a poster and producing a price list. You have to drive to the venue and spend a few hours hanging the exhibition on your own, the gallery rarely help in this. Then drive home, perhaps drive back for an open evening (for which you provide drinks and nibbles) and drive home again. Then at the end of the exhibition drive back and take it all down and drive home again! You can see why it is difficult to make a true profit if you factor in all of the costs.

Before you exhibit you need to be clear about what the gallery provides and what they expect you to provide. Some of the better ones will provide the drinks and nibbles, for example. Most won’t. Many expect you to provide all of the packaging for any items sold. if people buy prints or framed prints you will probably be responsible for posting them to the buyers unless the buyer is willing to return to collect them.

You need to be clear on insurance. Some galleries provide a certain amount of insurance cover if works are stolen or damaged. Will this cover your work. If they don’t provide cover, you lose if anything happens to a picture or pictures.

Be clear with the gallery too, on what advertising they do for you. Do they have a website and will they use it to promote your exhibition? Do they use Twitter, Facebook etc. Do they have an emailing list and will they use it to mail their clientele? In reality, many galleries are poor at advertising on your behalf. They leave it all to you, so what is your ‘reach’ as regards advertising? Are you on social networking sites and if so are you suing them to promote the exhibition? Do you blog, use Twitter and have a mailing list? If not, who is going to know about the exhibition apart from your close friends? Do you have the gumption to ring the local newspaper and see if they will run a piece for you? Are you up for contacting the photography magazines to see if they will list your exhibition? This is all additional time you need to spend to make the exhibition a success while remembering you are still unlikely to sell any or many prints!

In smaller local exhibitions you are more likely to make sales if your images are of local scenes. Also seasonal scenes sell better, so if the bluebells are out bluebell images sell better, for example. More ‘arty’ and creative work has a lower chance of selling because it will appeal to a smaller audience, however will, perhaps, command a higher price.

This leads us to the age old question of what to charge. You can approach this one of two ways. Most people add up the cost of the paper, ink, frame and so on and then add a bit on top. This is called ‘cost plus’ pricing. If your frame, print etc costs you £25 and you charge £50 it sounds like a good 100% profit. But remember, the gallery will take a huge slice and you are unlikely to have factored in the true costs I have listed above. In reality, if you are charging any less than £100 or more you are making a crushing loss IN REALITY, whatever you are fooling yourself into thinking. The second method of pricing, is to view your work as art. This takes courage and also lessens your chances of selling anything! Here, you think less of the costs involved and place a figure on your work based on the fact you feel it has, and will increase in, value. You are thinking more like a painter or sculptor. So you may value prints at £250 or whatever. This is a brave photographer who takes this approach as sales become even further apart. Ask yourself, would you spend £100, £200 or more on a framed print from a photographer you have never heard of who is relatively low profile? No? Neither will they. Why? Because they think they can go to Ikea and get a very nice framed print for £20 and then when they redecorate they take it to a charity shop or car boot sale and buy another that fits with the new decor. The English do not value photographs as art in the way the Americans do.

So this all sounds very pessimistic. Why on earth exhibit? Good question. If you are in it just to make money, don’t. However, if you want to invest in your profile or want the world to see what you create and are prepared to take criticism as well as plaudits, it is a lovely thing to do. It does bring kudos and respect from fellow photographers. It is also a starting point. I am sure Charlie Waite, Joe Cornish & Michael Kenna went through these early loss making exhibitions. But because they were prepared to put themselves out there and make the investment in time and money gradually, and because they have real talent, they became more successful. Now Joe has his own, amazing, gallery (one of the few UK photographers who make a success of this) and images by photographers such as Charlie and Joe command good prices and have become collectable in their own right – they have broken the glass ceiling so it can be done. One day someone who runs a ‘better’ gallery may walk in and be impressed with your work and offer to represent you long term (this is the route Michael Kenna has taken – working with galleries for years who display and sell his images all year around as well as holding solo exhibitions on top of these). A publisher may see your work and ask you to do a book. A print manufacturer might be scouting for talent. If we don’t promote ourselves, even at a loss, we will never know. If we really want to make something of our images then we should view an exhibition as an investment in ourselves and go in with our eyes open. This saves us from disappointment.

I hope this helps you if you are considering exhibiting. I am not trying to dissuade you at all. I just want you to know what it is really like. If you accept this it can be a very fulfilling and positive experience and if we make some money too, so much the better.

And to finish, heres another image you can see at the exhibition.

Thinking of Winter


Adventures in Polaroid

Polaroid

Avast, Me Hearties!


As many of you will know, I do like quirky photographs! Among the styles I love is the Polaroid. My dad had one when I was young. Being keen on holding on to his cash, he resented having to pay Boots or Bonusprint to develop his films and so thought Polaroid was the answer. He soon realised the costs were similar, you, in effect, paid up front for the instant development of Polaroids in higher film costs and so once the novelty had worn off the camera rarely came out to play.

Ever since, I have loved the washed out images the Polaroid film produces. There are digital tweaks you can make to imitate the look, but nothing really compares to true Polaroid for that sixties/seventies feel. Like many, I was so disappointed when, in 2008, Polaroid announced they would no longer be making the film – again economics took priority over art. However, a small group of dedicated European Polaroid lovers put their faith in the medium and with great foresight bought the old Polaroid film making machinery that was being sold off. They had no idea how to make the film. No idea of the chemicals involved. Oh, and they had no money.

Kippers by Post

Thus started the ‘Impossible Project”. The name came from the fact that whet they were trying to achieve was deemed ‘impossible’ by everyone they asked but this just seemed to make them all the more determined to succeed. To raise money they started a website along the crowd-funding principle. They asked Polaroid lovers world-wide to commit to buy a certain amount of film if they could make it. Once they had enough pledges they called the money in, bought a load of chemicals and put on the rubber gloves. I am sure it would make a great movie, because, against all the odds they succeeded in making  batch of film. (you can read the full story here). From there, the team have gone from strength to strength and employ 25 people, many of whom originally worked for Polaroid.

Fishing Boat - Whitby Harbour

A few words about the film itself. They make a colour and a mono film. Both are, shall we say, very unpredictable. VERY unpredictable. But it is this unpredictability which makes them so good in my eyes. The film has to be shielded from light in the first few seconds after shooting and can take half an hour to develop (best done in one of the film boxes). In fact, it can continue to develop for the next 24 hours. Sometimes the chemicals don’t mix correctly. The exposure can be all over the place. Flare and other aberrations abound. I am currently using some of the early close to prototype film which they sell at a reduced price and so am experiencing extreme quirkiness. The new generation films they have released this year apparently show greater consistency.

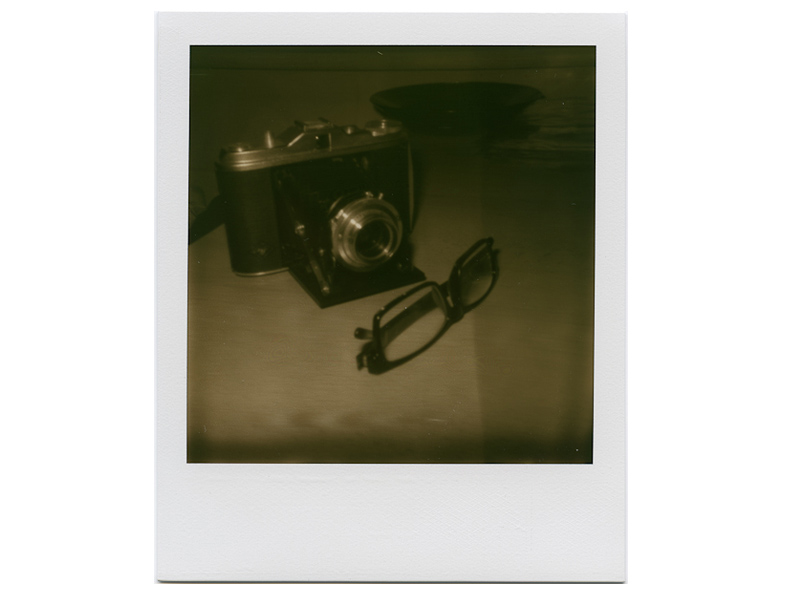
I bought an old Polaroid camera from eBay and adore it. The film packs are expensive (think, about £1.50 an image once postage is factored in) but the packs are well made, quite complex and contain a battery to power the camera and flash, so there is a lot going on. You get eight shots per pack and it is best kept in the fridge (DO NOT freeze the film). The camera is totally retro and I feel like a seventies Dad walking about with it. I used it in Whitby earlier this week sand people were stopping and staring 🙂 It got a great reaction. The Impossible Project have plans on the drawing board to make a new Polaroid camera, so exciting times lie ahead. The project has been such a success that they are opening Polaroid shops in capitals around the world to service customers. I got my film, from Germany, via UPS in a couple of days.

Camera meets Camera

Today I put a pack of the Silver Shade mono film in the camera and am blown away by the results. The tones are beautiful. I can’t wait to use the new generation of mono film they have released. I have one pack but am going to use up the old batch film first. new products in the pipeline will please large format film users as they are working on 10 x 8 and 4 x 5 versions of the film which was used by many large format camera users to test exposures and for quick client approval shots. The possibilities are endless.

On My Desk


I am keen to get out with the camera as soon as possible to continue experimenting. Ideas I have in mind are a trip on a train with just the Polaroid to see what it brings. Also, I would like to try some urban decay as well as ‘seaside’ photography. If you decide to give it a go, be warned, it is addictive and could be expensive but the results can be wonderful. Even the ‘spoiled’ frames can become happy accidents that in their own way are works of art. I enjoy the lack of precision and unpredictability of the Polaroid. I love the retro feel of the images and the tactile nature of holding a Polaroid in your hand to admire it. I already have some which I will frame for my walls. No doubt you will be seeing more of them from me in the near future.

If you fancy dabbling in film photography to see if it is for you, why not consider joining Jonathan Stead and myself on a film based workshop in September. We provide the camera (if you need one), a roll of film and show you how to develop the film cheaply and easily at home (without any need for a darkroom). You can get full details here — Go on, come and try some ‘real’ photography and enjoy the pleasures of analogue.

Me, myself and I

How do I dodge and burn in Photoshop?

dodge burn


Dodging and burning is a technique which harks back to the days of film and darkroom developing. In the darkroom film users employ strange techniques to darken areas of their prints and lighten others to improve the look of the image. For those of us working digitally it falls to Photoshop to act as our digital darkroom to achieve the same effect.

‘Dodging’ refers to the lightening process while ‘Burning’ is the darkening of areas in the image. I remember which is which by thinking that burning an object blackens it, so burning = darkening. The goal is to introduce contrast into the image in such a way that the impression is of light falling on the subject in very controlled ways, highlighting the beauty or key aspects of the image. In my photograph above (and I have selected an extreme example rather than a subtle one) you will see I have burned the tractor tracks, areas of the clouds and areas of the surface of the wheat. To contrast with this I have dodged areas of cloud and highlighted the light falling on the barn with dodging. I was aiming for a dramatic image.

The biggest tip I can give you with this process is to do it very gradually, to be patient. Most people I see using this technique want to see dramatic effects too quickly and end up spoiling their image by creating a patchy look. The process is simple but it takes time and the vision to visualise the final result before you start. It is not good to approach it in a random way and hope the end result is going to be effective.

Now to the process. Firstly convert your image to black and white using your preferred method, either in Photoshop or a plugin such as Silver EfEx Pro 2. At the conversion stage, beware making the image too contrasty as you are going to tune the contrast carefully using the dodge and burn tools. Open the mono image in Photoshop.

Duplicate the background layer by selecting it in the layers panel and pressing cmd+J (windows = ctrl+J). Always do this and dodge and burn this new layer so that if you make a mistake you can always delete it an start again without spoiling the base layer. The layers panel should now look like the image below.


I decide whether to start with dodging or burning depending on the image but in reality it usually doesn’t matter which you start with as you will be alternating between the two. The image below shows the flyout toolbox from the main toolbox which shows the two tools.


I am going to select the burn tool first. The icon looks like a clenched fist. (don’t ask me why). The next step is to set the burn brush up correctly. This is done on the top toolbar as in the image below.

You will see I have selected a very soft brush and set the hardness to zero. This really feathers the effect and helps prevent hard edges to the burned areas. In the range drop down box you can see I have selected ‘shadows’. This is something important to understand when dodging and burning. The tones you select in this box tell the brush the only tones to affect. So if shadows is selected when you brush over pixels in the image the brush will only darken shadow, the darkest, pixels. It won’t touch mid-tones or highlights. Similarly, if you select mid-tones then only they will be darkened. Shadows and highlights will be unaffected. The same applies to the dodge brush. In most cases the other thing to remember is do not burn highlights and do not dodge shadows. If you do it usually gives the pixels a ‘damaged’ look because the change is too dramatic. Stick to burning shadows and mid-tones and dodging mid-tones and highlights.

The next vital thing to note in the above screenshot is the exposure level I have selected. In the shot above it is at 3%. This is where most people go wrong, they set the percentage too high. I work between 1 and 5%. I never go higher than 5% and rarely use that. I am usual working between 1 and 3%. When you use this setting the effect builds up very slowly and delicately giving you control. If you go higher you loose control and damage the image.

Now size the brush using the [ ] keys as usual and start brushing over the image. Use large flowing strokes. Avoid at all costs scrubbing away wit the brush at small areas as this soon creates a blotchy look. Keep switching between dodging and burning and build both together gradually. Keep changing between working on the shadows, mid-tones and highlights. Keep turning the layer on and off by clicking the ‘eye-con’ on the layers pane so you can see how far you are going and how far you have come. Work towards your pre-visualised goal. Take your time and don’t overdo it!

Here is my image. The first screen shot shows the basic mono conversion. The second it the dodged and burned final image. I have created a vignette to draw the eye to the water flow. I have brightened the water to give sparkle and punch and added a bit more drama to the sky.

Most mono film photographers would not consider printing an image without some dodging and burning to enhance it. Read what Ansel Adams wrote about this process as part of his print making to see how important he felt it was. He was a master of the technique. I hope you enjoy practising the effect and feel sure your mono images will improve dramatically as a result.

To learn much more about dodging and burning and all the other aspects of mono image making, why not consider coming on one of my specialist mono workshops where we work on thinking in mono, composing for mono and then processing to make mono images full of drama, light and character. You will find full details on the workshops pages of my website.


Landscape Photographer of the Year 2011

LPOTY 2011

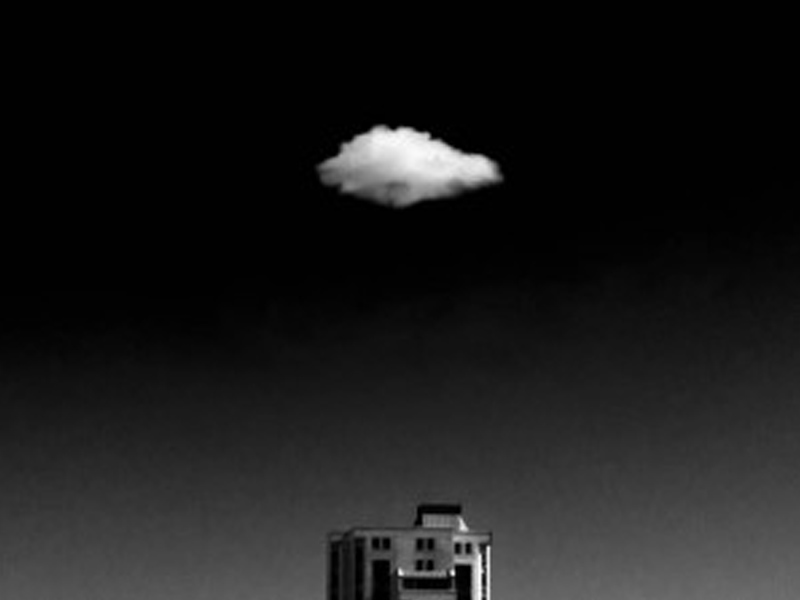
I am pleased to announce that this image of mine entitled ‘Scintilla IX’ which forms part of my ‘Lone Cloud’ project has been commended by the judging panel in this years Landscape Photographer of the Year competition. As such it will be featured in the AA Publications book of the winning entries which is to be published in November. It will also form part of the exhibition of the winning images in an exhibition at Londons National Theatre on the South Bank.

Free downloadable long exposure calculator chart

I have just put on the downloads page of my website a free pdf long exposure calculator chart

Just download it, print and laminate it for use in the field.

I hope you find it helpful.

I plan to add some other free downloads so please sign up for my email newsletter for advanced notice of these – just use the form on the right hand side of this page.

if you have any ideas for useful downloads, please drop me a message using the ‘Contact Me’ form on the right.