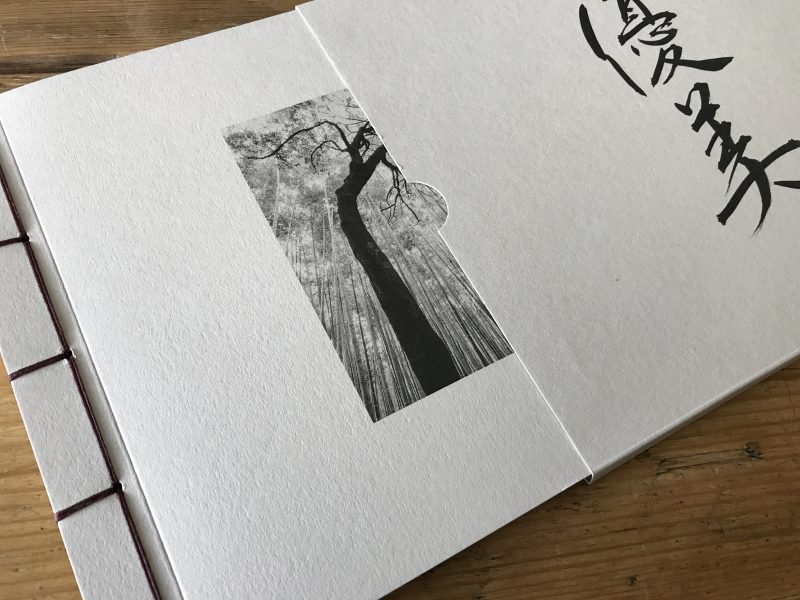
Using the Canon EOS R Mirrorless Camera for Multiple Exposure & ICM Photography
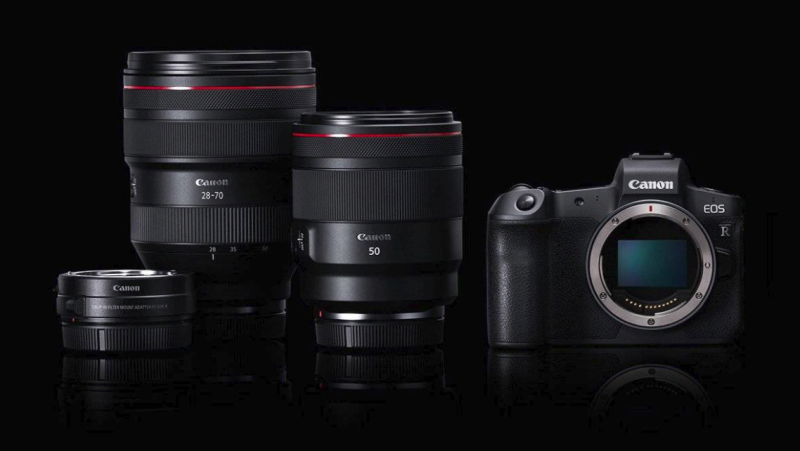
The new Canon EOS R full frame mirrorless camera system was released recently with much fanfare. Valda and I were immediately keen to get our hands on one and Rob Cook at Canon UK very kindly provided us with loan bodies, lenses and adaptors to give us that chance. (I made all of the images in this article on one day with the EOS R).
Our hectic lives, as usual, meant that time with the camera was frustratingly limited, but over the few weeks we had them we did manage to clock up several hours of use. Enough to put them through their paces and get a real feel of how this system performs for those of us that are working with the creative use of multiple exposures and intentional camera movement (ICM).
If you also use your camera for more conventional image making, this blog, while not concentrating on those areas (you will find hundreds of others out there that do) should also give you a feel for its potential.

Firstly, I’ll deal with some of the fundamentals around your possible reasons for switching to this new system.
1. Saving weight – mirrorless cameras tend to be lighter (and less bulky) than DSLR’s. The ‘R’ is no exception. It is, roughly, 30% lighter than a 5D mk4, for example. If you use a Fuji or Olympus, it is heavier, but it has more the feel and build quality of a DSLR, along with the high quality weather and dust sealing of pro Canon DSLR’s. For those who found the Fuji’s and Olympus systems too small and fiddly in the hand, you shouldn’t find this an issue with the ‘R’. The 24-105mm f/4 lens is a high quality L glass lens so it adds weight. Noticeably so, but it is also very versatile with 4 stops of image stabilisation and very sharp results (if sharpness is your thing). The 35mm lens (which is also a macro) is far lighter. I haven’t tried the 50mm. The EF adaptor which allows you to use all your EF lenses with all functions (auto focus, metering etc) weigh very little. I tried using my EF 70-300mm L lens and found it well balanced and very comfortable. The weight added depends on the lens, obviously.
2. The electronic viewfinder (EVF) is a revelation. It is fast, responsive and very sharp. I found I soon forgot I was using an EVF. For the multiple exposure image maker, the EVF is a real gamechanger over other Canon DSLR’S that have the blending modes. This is because as you make each frame you can see the next one overlaying the previous in the viewfinder. This allows precise lining up of frames. The effect of the blend mode is not shown until after you fire the shutter (but you do get to see that through the EVF which is especially good in bright light when viewing the live view screen is difficult. The overlay of the image is subtle but good enough to position things carefully. For me this is a major reason to switch to this new camera, the benefit is so significant.
3. The EF Adaptor with built in variable ND filter. ( https://www.canon.co.uk/mount-adapters-ef-eos-r/ ) This is the other game changer for me and a really innovative idea from Canon. The adaptor not only allows us to use our EF or EFs lenses on the EOS R, but it also has a slot in it, into which fits a beautifully designed two to nine stop variable neutral density filter. The strength of the neutral density effect is applied by rotating a small wheel on the filter holder. This innovation is perfect for those of us who love ICM and ME photography. It obviates the need for a Lee Filter system hanging off the end of the lens, or having to screw filters onto the end of the lens. It is so much neater, compact and is permanently available. These adaptors will be available in the UK from February 2019. (there is also a polariser and UV filter which can be purchased to slot into the adaptor – only one filter can be used at a time). The above link will show you just how beautifully designed this option is.
4. The tilt and swivel touch screen. A more minor benefit to me, but a benefit nonetheless. The screen tilts and swivels. This is very useful for low and high level images. It also means the screen can be completely rotated when the camera is not in use so it is facing the camera and not exposed and thus prone to being scratched. Additionally, the screen is touch sensitive. This means lots of things can be adjusted by touch instead of scrolling through menus with wheels and switches. You can also touch focus and even fire the shutter by touch on the screen if you wish. I particularly found making major changes to white balance much faster by touch than using the scroll wheel as on my 5D mk4.

There is an issue with the camera that has been much debated since its release. It has only one SD card slot. Many people have flown into a rage about this. For the sake of balance I would just throw a few points out there. Yes, I agree, it should have had a second slot. It would allow backing up images while shooting (or shooting alternative formats to each card etc). I am sure the next model will have a second slot. However, I think the outrage is overdone. Firstly, many people I have worked with often don’t have a card in the second slot. Those that have often have no idea how their camera is set up to use the second card – whether it is backing up the first, or writing jpegs, or perhaps filling one card then the other. There is also the fact that it is also only relatively recently that cameras have had two slots. We managed quite well with one for years prior to that and I have to say in all my years of using digital cameras, I have only ever had one card failure. So yes, it should have two card slots, I wish it did, but it’s not going to stop me owning the camera.
Let’s talk now about usability. The first thing I found was using the ‘R’ slowed me down. I guess we all get a certain amount of ‘muscle memory’ in using a particular camera model. When we switch to a new one it takes a while to adjust to the new button positions, menu layouts and just the general feel of the camera. Everything on our old camera is set up just the way we like it for the way we use it. It takes a while to get the new camera set up just so. I found this quite irritating at first, I longed to go back to the mk4. However, after a few hours, the familiarity with the ‘R’ started to build and I was able to focus less on operating the camera and more on making images.
The camera has a ‘multi-function bar’ which is operated by sliding your finger along it or tapping each end. It has the potential to be a useful control, but if I am honest, I found it lacked responsiveness. I couldn’t get it to work in a consistent way. This led to me being frustrated with it and I very quickly deactivated it. It would be difficult, if not impossible to use wearing gloves. I am sure some will get the hang of it quickly and really love it. I, however, am not a fan, sorry Canon.
A new innovation which is useful, is an additional ring on the ‘R’ Lenses (and fitted to one of the EF adaptors to add the function to all of our older EF lenses). So you now have three on a zoom lens, the focus and zoom rings plus a third which can be programmed to alter several settings according to your preference. (On a prime lens you have two, a focus ring and the new one). You can set the new ring to change aperture, shutter speed, ISO, exposure compensation etc. I set mine for ISO. I just found I had to take care when the camera was to my eye and I was, say, changing the focal length, that I didn’t hold the wrong ring by mistake and inadvertently find my ISO 3200 without noticing. The surface texture of each ring is different to help and if you prefer not to use it, the rings function can be deactivated.
Many have asked me what is it like using EF lenses with the new body? I tried it with my EF 70-300 IS L and the EF adaptor. The first thing to say is, yes, it is heavier – naturally. ‘L’ lenses, because of their build quality are weighty. But you are still saving the 30% of weight over an average DSLR. I found the balance was good, supporting the lens with my left hand as I would with a DSLR. This camera is not as small and light as, say, a Fuji XT-3, but I prefer the size. It fits my hands better, the buttons and dials are spaced and placed in a more ergonomical way and suit my hands. I like the grip design and balance, and I am speaking as someone who absolutely loved my Fuji cameras so I don’t say this lightly.
If you are looking to make the camera into a very lightweight system, I would seriously consider some of Canons lighter, mid-priced EF lenses, which are cheaper and will save a great deal of weight over the ‘L’ lenses. Yes, some image quality will be sacrificed, but they are still excellent for classic photography and for multiple exposures and ICM images the quality of the lens is fairly irrelevant. Take Canons lowest price, lightest 50mm f/1.8 lens for example, which is available for a little over £50. It weighs almost nothing and is ideal for ME and ICM.
To use the camera for multiple exposure images, I found the fastest way to access all the menus I needed – the ME menu itself, ISO and White balance primarily – was to add them all to a custom menu. I was then able to access this with one button push and go into whatever setting I needed. Very quickly I was using the camera instinctively and concentrating on image making, as I mentioned earlier.
Some of you may be thinking about waiting for the next iteration of the ‘R’ before investing, perhaps wanting a higher resolution sensor, for example. If you are a multiple exposure image maker I would add a word of caution. Making multiple exposures on the 50mp 5Dr is a very slow process compared to the 5D mk4 (which has the same sensor as the EOS R – 30mp approx). It seems combining several 50mp files takes its toll on the processing power of the camera. If the next ‘R’ has an upgraded sensor (and it seems logical the sensor from the 5Dr could be slotted in without too much trouble) then, unless Canon really beef up the processing power, the camera will be much slower for us ME photographers. It will be fine for classic image makers, but not for us. I have taken the decision not to upgrade to the 5Dr for just this reason, the slowness of it would hamper my creativity and the extra 20mp are simply not worth it for me.

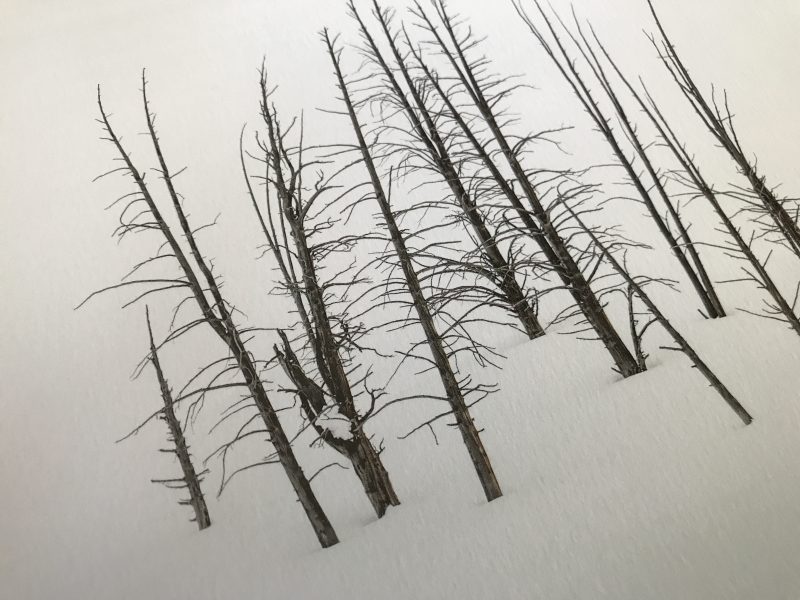
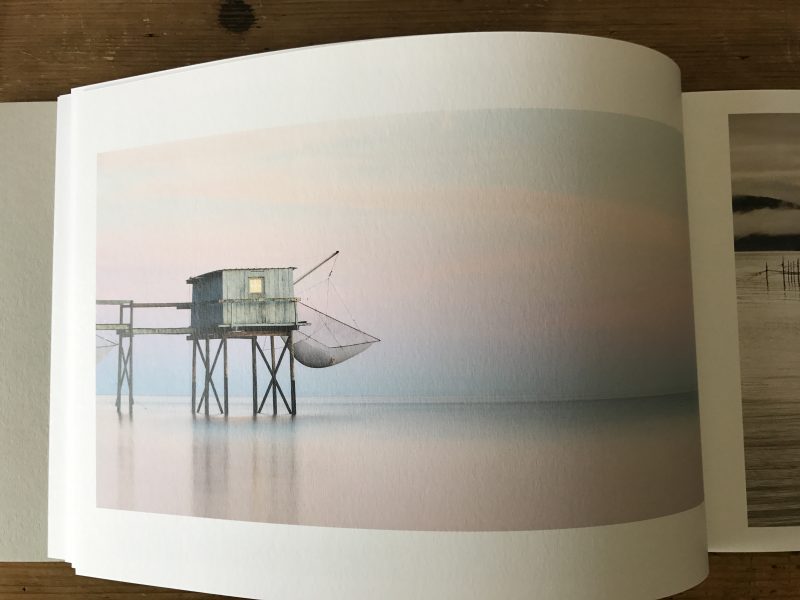
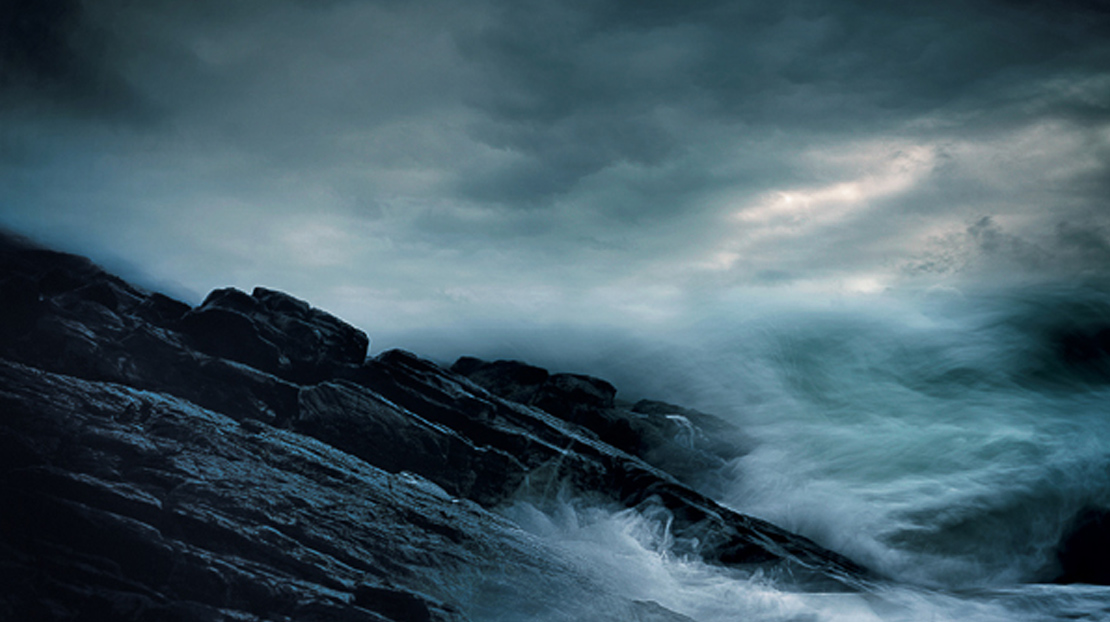
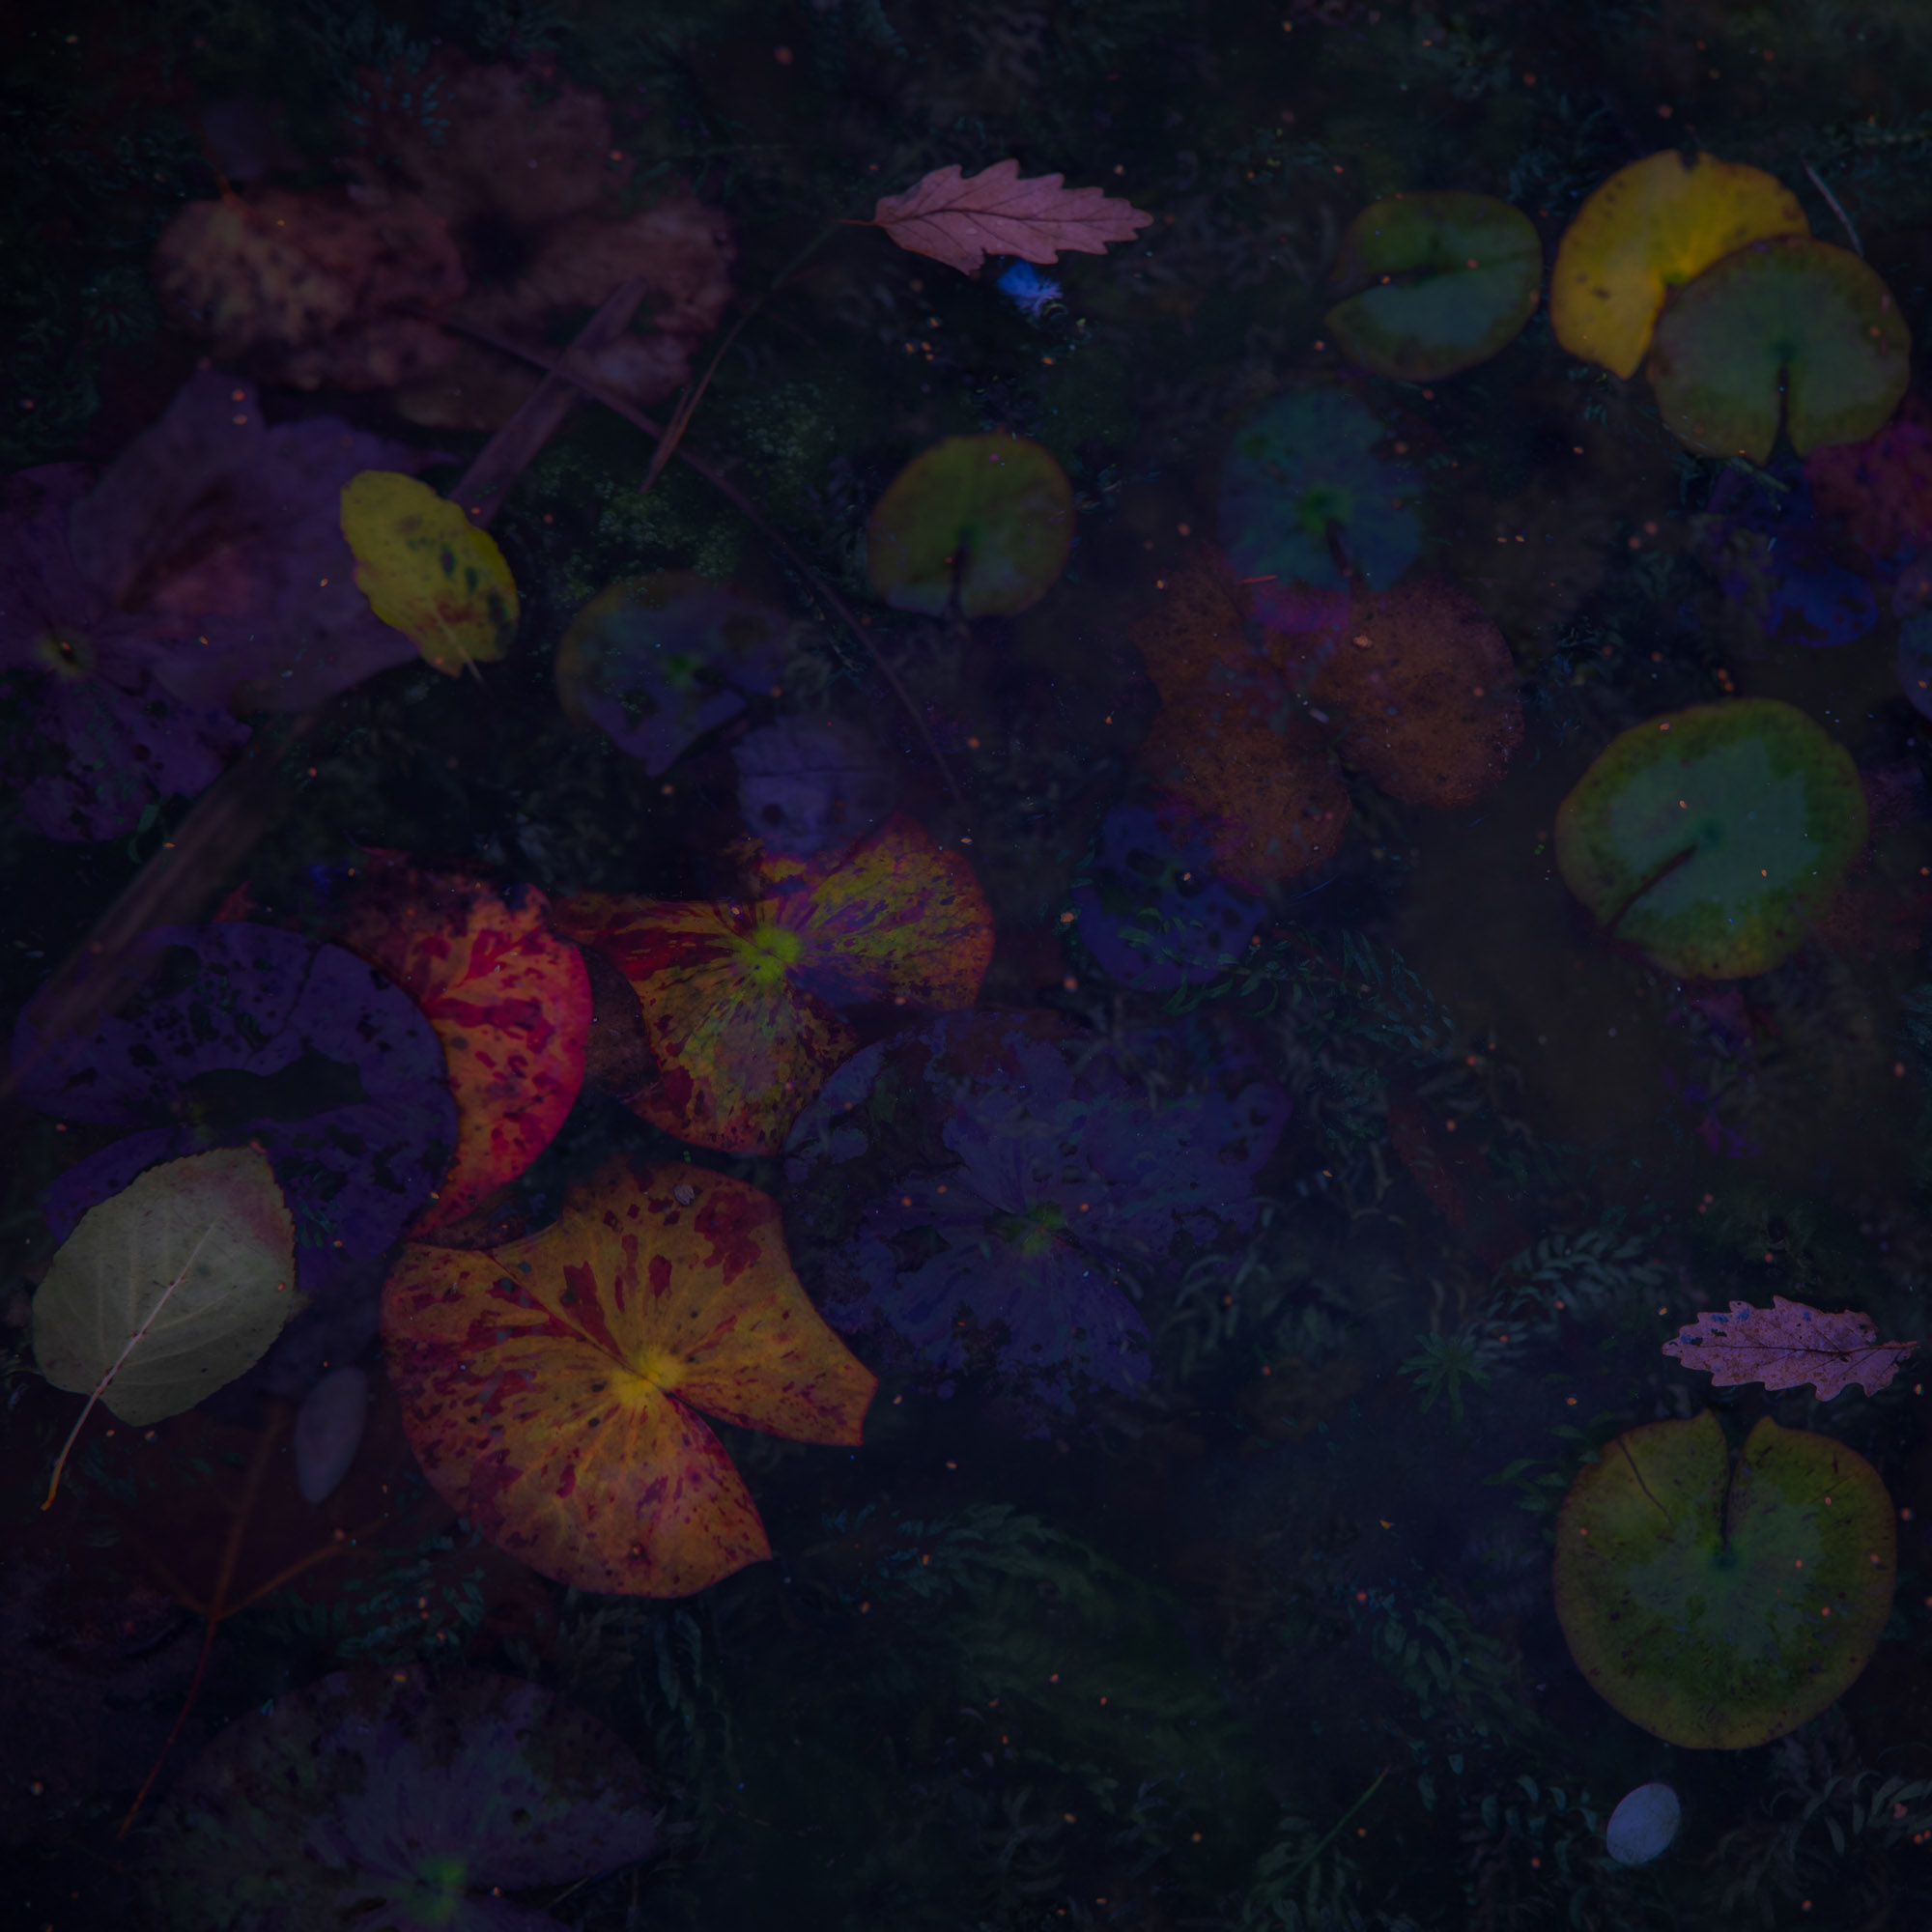
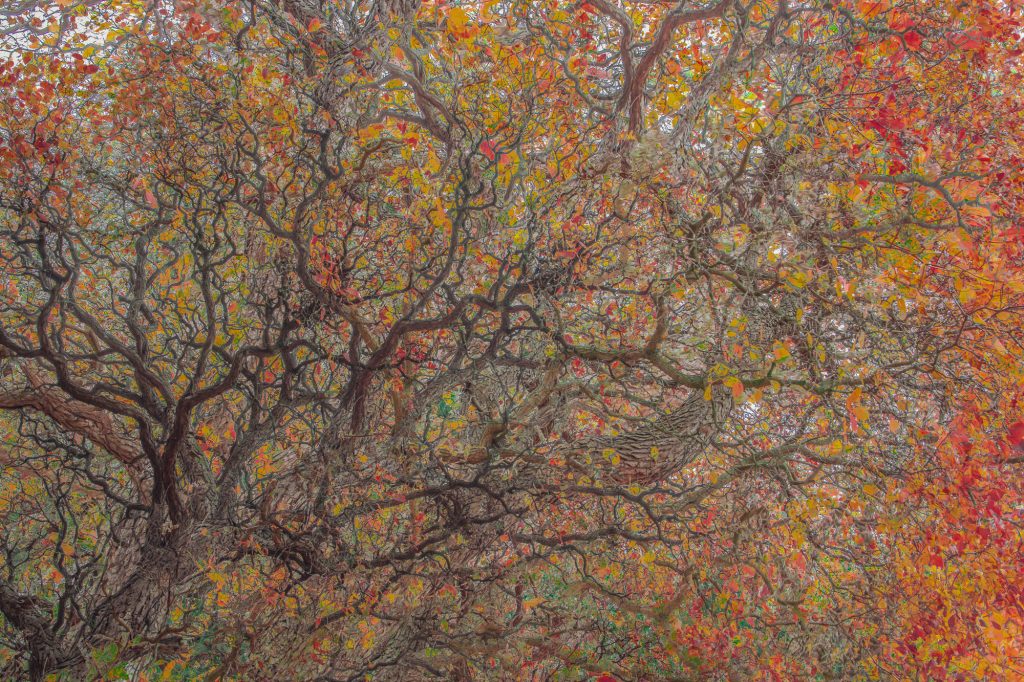
As for image quality, it is breath-taking. All the images in this article are made with it. The sensor is a tried and tested full frame 30mp sensor from Canons 5D mk4. This has fabulous resolution, with superb colour and contrast. The camera is fast and reliable. The raw files are full of detail and can be cropped and manipulated to your hearts content. The prints from the files are glorious. You will have no quality issues from this camera as regards images – unless you are some anal pixel peeping geek who is more interested in discussing the micro contrast in the shadows on relentlessly boring internet forums and barrel distortion tables on mindlessly obscure websites than in actually going out and making images. But that applies to most cameras these days – let’s face it, they are all pretty amazing. If I need to remind myself of this fact, I go back and look at images from my first 4mp digital camera. Case closed.
In conclusion, while I found it took me a few hours of using the camera intensively to get used to it and I had to customise the menus and controls to suit my way of working, I soon found it a very natural tool that felt comfortable in the hand and didn’t get in the way of my creativity. This is exactly what I want from a camera. I don’t really want to have to think to much about the camera at all, I want to think about the image. If I am having to fuss about too much with my equipment, if the gear is getting in my way or irritating me then I am using the wrong gear.
So once I was over the hurdle of unfamiliarity, and I was able to seriously concentrate on making images, I was able to enjoy the advantages that the EOS R has for me as a multiple exposure and ICM photographer. Being able to use the EVF to line up ME compositions was a dream and a major step forward in our genre of image making. Being able to see the blended image in the EVF straight after each frame is made was also hugely beneficial, not only in bright sunlight but in all conditions.

While I couldn’t try out the new EF adaptor with the variable ND filter, I have no doubts this will be a game changer for me. I am itching to get my hands on one in February when they arrive in the UK. I am expecting demand to be huge.
The weight and size saving is nice to have, but not a game changer for me. It will certainly help me as someone who travels the world constantly – but I am more interested in functions and usability than weight.
The big question, will I be changing to the EOS R as my system of choice? The answer? Yes, if I can. My big frustration is I bought a brand new 5D mk4 only a few weeks before the EOS R was released. I don’t think I can afford to lose what I have invested in the new body by trading it in so soon for the ‘R’. This breaks my heart but as a professional running a business I have to be pragmatic. These are tools of the trade for us and have to earn their keep. It might seem as though pros always have nice gear – and we most often do – but we have to work very hard to afford it and most of us can’t just keep jumping from one body to the next without thinking about the financial implications. So I may have to wait awhile before I can justify it. However, if you are able to afford it, I wouldn’t hesitate in recommending this very excellent new system to you. It is superb.
Now, a few final thoughts from Valda –
We decided to wait to put out this review until I had returned from Venice. When we led the three one-day EOS R Discovery Day workshops in London recently we had more people than cameras and it was me who drew the short straw and didn’t really get to use it.
I took one of the loan bodies to Venice recently – unfortunately once again, my time with it was limited. Partly because I was teaching but partly because there were no shortage of clients in the group wanting to try it out for themselves. It really has generated an enormous amount of interest.
I’m not sure I can add anything more to Doug’s lengthy and comprehensive review. I actually found the multi-function bar very useful for changing white balance but really couldn’t get to grips with the function ring on the front of the lens – I found myself grappling with the wrong wheel. Of course its use would no doubt become second nature after shooting with it for a lengthy period.
Like Doug, I found the newness of the camera got in the way of my creativity, but this cannot obviously be blamed on the equipment. Within an hour or so, it was all becoming very much easier. I love the EVF – the best I have ever used – and the overlay feature during multiple exposure made the building up of layers a lot more fun.
There was a slight hiccup when it appeared that the autofocus wasn’t working. Such is the complexity of modern cameras, it took me about four hours to realise that the last client had enabled the back button focus, thus disabling the button I usually use. Again, not the camera’s fault at all, but half a day lost in trying to figure out what might be the problem.
I too, have only recently invested in the 5D4 so I won’t be changing any time soon I don’t travel with a lot of gear anyway, so the weight issue is not a hindrance to me. I am very excited about the adaptor with the slot for a drop-in ND filter – I don’t get on well with accessories and other extraneous bits and bobs that can be sat on, broken, lost, smeared or cracked. So for me, the more streamlined the kit, the better.
My technical knowledge only extends as far as I need it to in order that I can make my images so I’m really not in a position to predict how this camera stacks up against the competition. However in terms of usability, and for what I would use it for, I think it is certainly a winner.