Tag: photos

My back up strategy

back up

Lakeland River


It has been a while since I blogged about my backing up strategy and I have made some changes to make my systems more secure, so now seems a good time to update you on how I protect my data.
 
I regularly have friends and customers who tell me stories of how they have lost prized images, even their entire library, due to equipment failure or theft of their computers which they didn’t have backed up. They go pale as they speak about it. Some even break down and cry 🙂
 
If your system experienced a complete failure this minute, how much would you lose?
 
If your computer and the drives with it in the same room were stolen today, how much data would you lose?
 
How would that make you feel. Your wedding pictures. The pictures of your children growing up. The images of your loved ones who have passed away. Those landscapes you toiled so hard to capture. Need I go on.
 
Sobering questions, aren’t they?
 
It is crucial to understand that EVERY hard drive WILL fail. It is just a question of when, and they often don’t give any notice. One minute you are happily using your computer and the next you are looking at a blank screen. As with so many things in life, we think it won’t happen to us or we think we have time to back up next week. You just have to decide how much data you are prepared to lose and tailor your system to protect you to this level.
 
I had a brand new drive in a brand new computer fail completely just three days after buying it. I had just finished setting the system up with all of my programs, settings and data. I had also set up my back up solution and so was fully protected.
 
The issue is many people feel that backing up is a nuisance. They feel they don’t have time. Often, it is also because they don’t really understand how to do it, or how to set up a good reliable system which is easy to run.
 
I can’t afford to lose my data. As a freelance photographer my images are my business. If I lose them, I don’t pay my bills. They cannot be replaced so it that is a great motivation to have a good system in place.
 
So how am I organised and how do I make it easy to have a bullet proof back up solution working for me?
 
My first layer of protection
 
When in the field, especially on longer trips, I copy all my compact flash cards to my iPad. I don’t format the compact flash cards until the images are copied to my computer back at the studio. This gives me two copies of my images while I am away from home. I keep the compact flash cards in a holder with me and the iPad is left hidden in my vehicle. I may also copy the images on to my Mac Book Pro while I am away which then gives me three copies in the field.
 
My second layer of protection
 
My main computer is a 27 inch iMac with a 1tb  drive. I have a 1tb drive attached (I recommend this one – http://tinyurl.com/bs4vhcm – the WD drives have always performed perfectly for me). This is set up to use Apples Time Machine back up system which is built into all Macs. It has saved my life several times and is so easy to use. Just select the drive to back up to and the system backs up every hour. It deletes the oldest back ups once the drive is full. The most data you can lose is one hours work. Frustrating, yes, but not critical.
 
Layer three
 
I also have another two 1tb drives which are kept onsite, but away from the computer (in the hope that if we have a burglary and the computer and back drive which sits next to it are stolen, then this drive may be missed).
 
To copy files to this from my iMac I use a great easy piece of software called Superduper. You will find it HERE
 
(if you are a Windows user I would highly recommend using Microsofts free SyncToy which does a very similar job and is also so simple to use. You will find it HERE. Please note, I stopped using Windows a couple of years ago so this may not work with the latest versions of Windows or other solutions may now be available which I am unaware of).
 
This makes a carbon copy of your entire hard drive. The first back up you run with it takes a while as it is copying every file (as does Time Machine) but subsequent backups are much faster as only files you have added, deleted or changed are updated. This system does not hold on to old copies of files, so you can’t go back to a file which was deleted weeks ago in error  to restore it, like you can with Time Machine. The drive is always a copy of your computers hard drive on the last day you backed up with it.
 
Superduper can be set to run on a schedule so you don’t have to do anything as long as the back up drive is connected to the computer, or it can be run manually at a time you choose (this is how I use it as my drive is hidden and not permanently connected to the computer).
 
It is also fully bootable so in the event of a hard drive failure you can boot your computer using it and get working straight away. If you want to have several carbon copy drives you can. You give each drive a name and Superduper remembers each drive.
 
When I am on the road I take one of the Superduper drives with me. This gives me an offsite backup and it also means I have all my files with me so I can work on the road. If I do this I just have to keep a copy of the changed/added files and update my iMac with them when I get home.
 

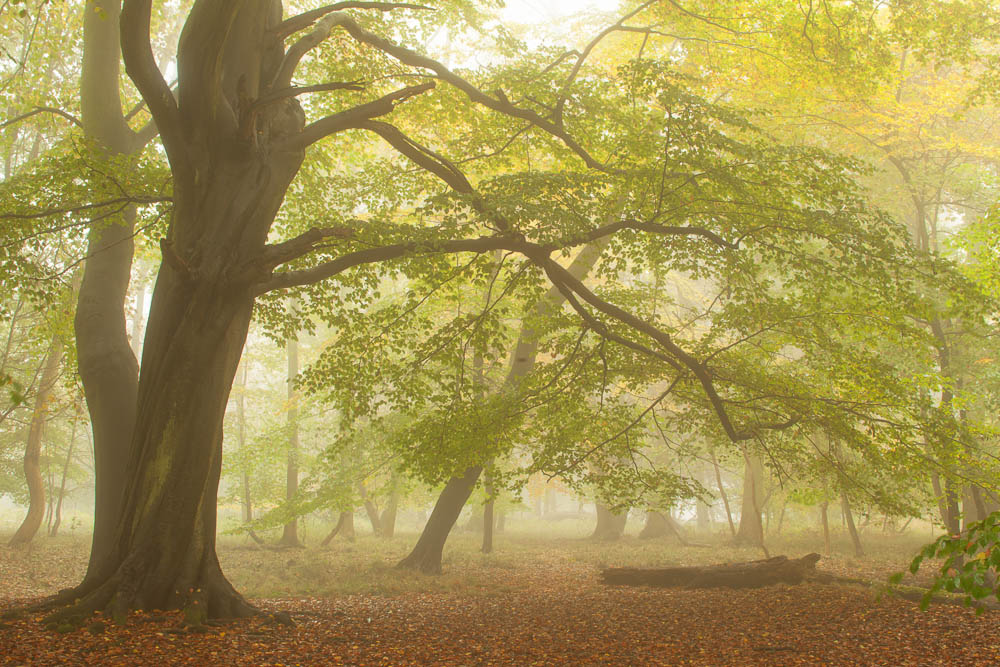
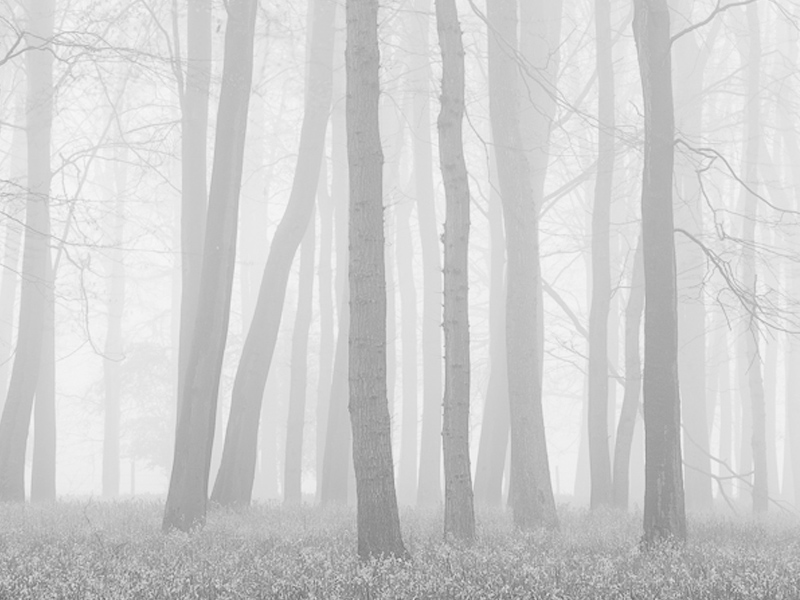
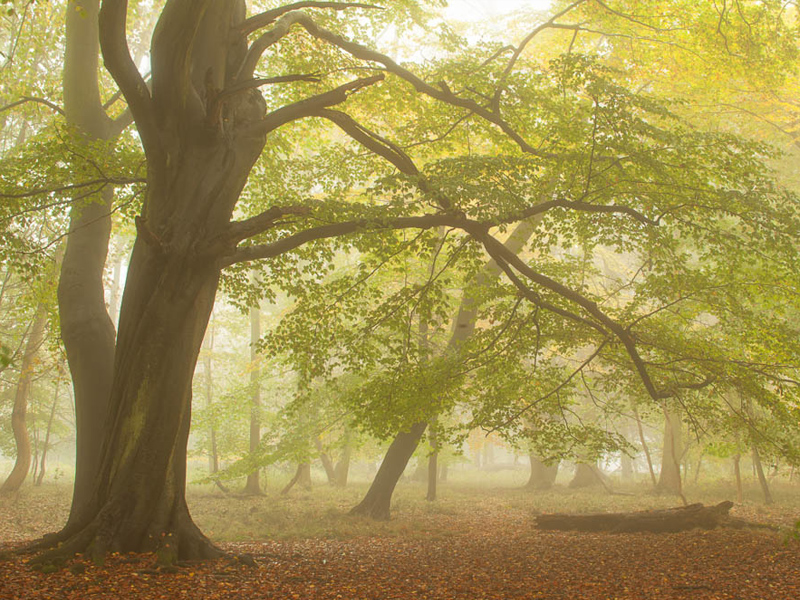
Mist in the Woods


The final layer
 
The last layer of protection is the one which gets neglected by most people because it is the most difficult to manage. This is the offsite backup.
 
This protects you in case of theft or the destruction of your property by flood, fire and so on. I wonder how many people have lost all their files this week in the floods?
 
My old system, which was flawed, but better than nothing, was to have a third 1tb drive backed up to using Superduper which I then stored at my parents home. This is fine if you remember/bother to go and get it and update it regularly (and to be honest, this needs to be weekly as a minimum). I just didn’t do this often enough, it becomes too much hassle.
 
Prior to this year my new solution would not have been feasible as my broadband speeds were just too low. I now am blessed with BT Infinity 2 and this makes backing up to a Cloud service easy.
 
There are lots of options out there but most are very expensive for large amounts of data. They are really designed for smaller amounts of file storage and also geared for you to be uploading and downloading the files on a regular basis.
 
Amazon Glacier
 
Fortunately, Amazon has identified this issue and set up a brilliant new service to remedy this. It is called “Glacier”. Anyone can use it, from home users to world-wide corporations and it is purely designed to store large amounts of data you will probably never need again… unless something goes badly wrong with your primary layers of protection which I have described above. You can find it HERE
 
The basic things to know are;
 

  • The cost is very, very low, just $0.01 per gigabyte of data per month for storage, so if you have 200gb of data with them it costs just $24 a year. Compare that with the true cost of buying external drives and then keeping one off site and up to date!
  • There is a fee if you delete backups within 3 months of uploading then
  • There is a fee to download data, although you do get a free allowance per month, but as this is designed for long term storage (in fact, its for data you hope you will never have to download) it is not a major issue
  • Data that is uploaded takes several hours to be processed by Glacier and it takes several hours to start downloading back to you if you need it – this is how they keep the costs so low – so don’t view it like you do Dropbox, for example.
  • You need to break your data down into zip files that are no bigger than 4gb and this is a hassle when you first get set up.
  • You can’t update a backup zip file once it is uploaded. If you make changes to files at your end you need to upload them again and delete the old one if necessary. For this reason I am using it for archives. I back up the files I am working on all the time to Dropbox (or Skydrive etc) Sign up for Dropbox HERE
  • Glacier have yet to release a program to handle the uploading but two free programs are available from others. The Windows one is Fastglacier and the Mac client is Simpleglacier. I use Arc back up which is a paid for program.
  • Your data is encrypted using 128bit encryption keys – so extremely secure. The server farms also sit behind very secure firewall systems.
  • Glacier claims 99.999999999999% protection. The server farms are held in extremely secure bunkers and there are several of them around the planet. Your data will exist in three locations in at least two countries. So you are pretty much protected form everything except Armageddon, when, lets face it, the last thing we will be bothered about are our files 🙂

 
I am currently going through the tedious process of zipping all of my data (images and files) into 4gb batches and doing an upload overnight each night. I can upload about 60gb a night with my connection. I have done several years worth of files and just have 2010 to today still to do. I have just got my head down and started working through this methodically. It has also helped me delete over 200gb of useless and duplicated data which was clogging up my system – a really nice feeling having a spring clean 🙂
 
Once it is all there, plan to upload weekly the latest images although it may end up being monthly. I am expecting to have around 600gb of zipped data on Glacier by the end of 2012 with a cost to me of about £3.75 a month at current rates. I think that is exceptional value.
 
Conclusion
 
This all might sound like the ravings of an obsessive compulsive with a disaster fixation but I have my livelihood to think about and I hold work which is critical to my customers too. You can go as far as you feel you need to in order to get the level of protection you need.
 
As a minimum get Time Machine working for you if you are a Mac user, or something similar if you are a Windows user. I also recommend getting in to the habit of backing up each days work at the end of the day – let it run overnight. in reality, on most days, if you do it daily, an incremental backup will run in a few minutes. As a minimum get into the habit of having a ‘Backup Friday’ or similar so at least your weeks work is protected.
 
I highly recommend you also get set up with Dropbox – you can sign up here – as this will give you 2gb of free storage accessible world wide for regularly used files and for sharing files with friends and family. You can also access it from your iPhone, Smartphone and iPad etc It is brilliant and I use it daily.
 
Alternatively you can have the thrill of being a gambler and live life on the edge and not bother backing up at all (or have that back up you did months or years ago and always mean to get around to updating, maybe next week when your not so busy). Enjoy the ride! Me, as you can see, I am more a belt and braces kind of guy who likes to sleep well at night.

Tips for photographing in the rain

Rain Tips

Wet Day in the Forest

I am sitting in my studio with rain lashing down. April showers is one thing, but this is ridiculous! I thought it might be an idea to post my top tips on photographing in the rain.

Many photographers simply dismiss making images in wet weather out of hand, but in doing so I think they are missing out on some wonderful and different images. Granted, if  the rain is really driving and especially if it is blowing directly onto the lens, it is pretty much impossible to work outside. It is then I look for an indoor location or head home, fire up the iMac and do some image processing with some good music on and a nice hot cup of tea to enjoy.

However, we often get gentler rain or it is blowing in from behind us so the lens stays clear. It could be the rain is coming down vertically or is intermittent. In those circumstances it can be ‘game on’.

The first thing is to protect our gear. Whether we shoot on film or digitally, water and cameras are not a good mix. If our body and lenses are from a pro range, like the Canon 1ds and ‘L’ lenses, they are heavily sealed against water and dust and can perform in extreme conditions, but mid range bodies and lenses down, while having some weather sealing can soon start to be affected (often terminally) by water and dust. I have tried all kinds of camera protectors and to be honest, most are just impractical. At one end there are over designed complex polythene systems with arm holes and gussets, seals, elastic and goodness knows what that take a couple of days and a lot of patience to fit and are then so bulky and restrictive in their desire to totally protect the kit that operating the camera with them fitted is like trying to thread a needle with our hands submerged in a bucket of jelly.

There are other simpler protectors which are so flimsy they are worse than useless.

I do carry a couple of the disposable Optech ‘Rainsleeves’. These are low cost, come in packs of two and are designed to be used a few times and then thrown away. With careful use they can last quite a while. They take up little space in the kit bag and the price is very reasonable. It has to be bad for me to put them on though because, like most rain covers, they restrict us in using the camera. Everything becomes fiddly and a bit of a chore. The worst problem is getting your eye to the eye piece to compose and focus (or, if you use Live View, seeing the monitor clearly as the polythene is not optically clear enough to focus critically). There is a hole in the protector which is designed to go around the eye piece but to fit it you need to take the eye pice rubber off and then re-fit it over the polythene and by this time I am losing the will to live.

A simpler and much cheaper option is to carry a thick polythene bag. I carry one which is big enough to simply pop over the whole of my set up on the tripod. It covers camera, lens and filters. Obviously, you can’t work with this in place but it saves packing up for every shower. As soon as the rain has passed over, just whip it off and got on with the business of making images.

I also carry a cover similar to this one. Bought on EBay for less than £15 it gives good access to the cameras controls and is quick to fit and remove. Focusing and zooming are a bit tight but the cameras body controls are very easy to use, as is the eye piece and screen. I have been using mine for a couple of years and it is stills waterproof. Made from proofed nylon you buy one to fit each lens and body combination (in theory) but I bought one for my longest lens, my 200mm f2.8, and use it on all my lenses – the shorter lenses just have the cover a bit bunched up but it is not an problem for me.

Then, yesterday, on one of my bluebell wood workshops, a client had a new ‘device’ which seems like a brilliant idea to me (Thanks for the tip, Maria!). She was given the idea by photographer, Jeremy Walker. It may sound a bit strange but in really wet conditions yesterday she was able to shoot with ease and keep her kit dry. It was a very large sheet of Chamois leather. Told you it sounds strange. However, it is is not your average Chamois from Halfords. She got this from Skye Skynes – here on this page . Now, when you see the price (£22 delivered in the UK) you will probably have a sharp intake of breath and think I have finally lost my marbles, but before you shake your head and leave this post let me just tell you, these are the most amazing Chamois you have ever seen or felt. Skye Skyns make them from sheep skins on the Isle of Skye and they are very thick – many times thicker than the Chamois I use when cleaning the car. It is also the softest Chamois I have ever felt. The sheet is really big and you just drape it over your camera and lens. In between exposures you can drape it over the front of the lens (and filters) to protect the glass from drops of rain. It absorbs the rain and is perfect for wiping kit dry too. Because it is a sheet rather than something fitted you can double or triple fold it and just drape it over the lens and position it as you wish. As I watched my client work I was impressed with how easy it was for her. The Chamois has another advantage, it makes a great thing to wrap kit in to protect it. So even in dry weather it iso earning its keep in the rucksack. They are washable so when they get grubby they can be spruced up easily. I have ordered mine and can’t wait for it to be delivered, although knowing me it will come the day a long drought starts and I won’t get to use it in anger for months!

A good style of hat to wear in the rain is a hat with a rigid peak, like a baseball cap (but waterproof). This keeps us a bit drier and warmer but also the peak goes over the top of the camera while we have our eye to the eyepiece and helps stop the rain fogging the viewfinder. Absorbent lens cloths (and often several of them are needed for a rain session) are essential for drying fog off of the viewfinder and lens.

I also keep all those little bags of silica gel which come in many products packaging when they are delivered to us, you know the little white sachets with beads in which have ‘do not eat’ written on the outside. Silica gel absorbs moisture. I keep them all and drop a few in my camera bag, to help dry the air in the bag. Every now and then I swap them out, dry the old ones out at home and let the new ones do their job in my rucksack. (I also keep them in my laptop bag, lens cases and so on. Every little helps.

What about drying kit off after the session? I use absorbent cloths to dab the camera and lens dry, getting the worst of the wet off. I then let the kit dry slowly and naturally in a warm spot in the house, but not by direct heat. Then, once dry it needs a clean and polish to get any residue off of the body and glass. For cleaning my lenses I have stopped buying the ridiculously expensive lens cleaning fluid the manufacturers would like us to use. I get a big bottle of lens cleaner from my opticians for £2.75 (and that amount lasts me a couple of years!!). I use it to clean my glasses and honestly can’t see any difference when using it on my lens compared to the stuff sold by camera suppliers. I have a small spray bottle I decant some into to take into the field from the large bottle which stays at home.

That’s enough on keeping the kit dry. What about technique?

Passing Shower - Isle of Harris

Firstly, I don’t tend to use lens hoods for protecting against flare but I do use them to keep rain off of the lens. The two lenses I have which have particularly effective lens hoods are the Canon 24-70 L and the 70-200mm. Both of these come with a lens hood which is a full tube, not ‘petals’ which is more usual on wider angle lenses. These completely shield the lens glass from all but rain which is driving towards the lens in strong winds. The downside is that you can’t use Lee filters. To overcome this limitation I take bracketed exposures and blend them later in Photoshop. Problem solved.

I sometimes carry a golf umbrella which is useful to work under as long as there isn’t much wind. (This is the umbrella I use – designed for use in high winds – CLICK HERE) If the rain is coming in horizontally or the wind is strong, forget the umbrella, it is just impractical. I have been toying with the idea of trying studio lighting clamps to see if I can find one which will lock on to my tripod leg and hold the umbrella over me and the camera so that my hands are free to work. I will let you know if I find one that is suitable.

It makes sense not to fight the rain, so if it is blowing in from a particular direction, see if there are images to be made that will enable you to turn the lens away from the direction it is coming from. I also often head to woodlands in the rain. Trees in leaf will provide good cover although when the leaves get very wet it will start to get through to you, but it is dripping vertically from the leaves and not blowing in to the lens so with some of the protection I describe above we can continue working.

Cromer Pier - Winter Rain

So, there we are, all set up with a protected camera and some techniques to help us keep dry while we shoot. Is there any way we can use the rain to enhance our images? Most certainly.

The first thing to say is that the light as ‘bad’ weather passes or just before it arrives, is often spectacular. Foregrounds can be lit with glorious golden light with a deep black sky (one of the rare occasions that the sky is darker than the foreground). Shafts of light can pour from the clouds and glide across the land or sea. Rainbows decorate the sky. It is the photographer who is prepared to be out in the rain that gets to capture this glory.

In rain I often focus on making detail images, intimate landscapes. In woodland or in amongst the shelter of rocks there are lots of fascinating details which look great when wet. The diffused soft light when it rains is perfect for detail images as there are no strong shadows to contend with and the colours are rendered beautifully. The woods or rocks provide some cover and working on the close landscape provides a nice change from shooting the wider world.

While it is raining keep an eye open for things being back-lit. As the sun emerges from the clouds, wet trees, plants and buildings can glow as the sun catches the wet surfaces. If you want the opposite effect and want to kill reflections and saturate colours, fir a polarising filter and rotate it while looking through the eyepiece and see the reflections disappear. Shooting in the rain is also an ideal time for more creative image making – try shooting through wet glass from inside a car or cafe. The rain blurs the world and creates an impressionistic feel to things. Or go the whole hog and have a go at ICM (intentional camera movement) utilising the low light to lengthen the shutter speed and create images with blur by moving the camera.

If you like long exposures, try shooting them in the rain. If you can keep the kit dry, the effect of the long exposures is to turn the rain into mist and you end up with an image which looks like it has been shot on a misty or foggy day.

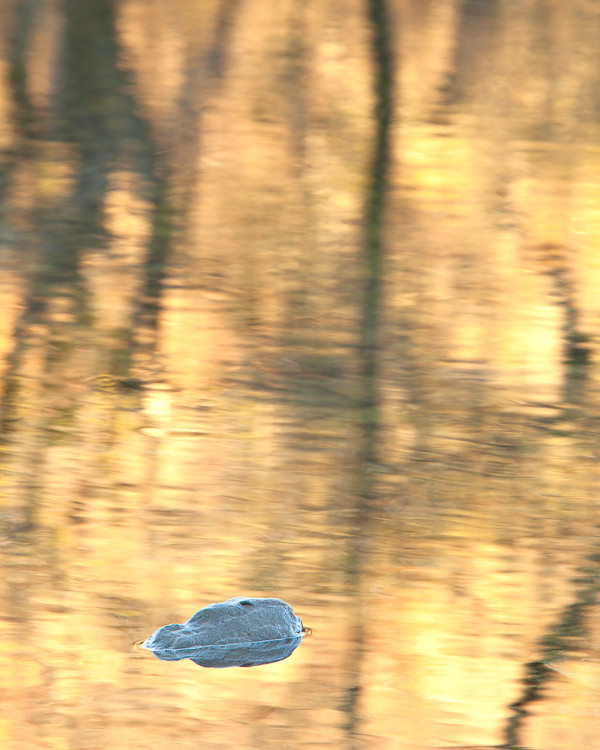
A final idea is to shoot puddles and running water. The raindrops create radiating patterns and often the light and colours above the water is reflected in it and yields great creative possibilities.

It has taken me a few days to put this post together. Now, as I finish it, the day is warm and bright. the rain seems a million miles away, but it is forecast again for tomorrow. I find myself hoping it will rain, so I can go out and have a go at capturing something with my camera. I hope you feel inspired to, too.

A Break in the Cloud