There can be few landscape photographers who don’t use Stephen Trainors brilliant piece of software, The Photographers Ephemeris. You can download it for free from http://photoephemeris.com/ There are also versions for the iPad and iPhone available from the Apple app store (for a small and very reasonable fee). It is also available in the Android Marketplace.
The software basically uses Google Earth mapping to show us the exact point and time of sun and moon rise and set for every day at any point on the surface of the Earth. The concept is simple and it delivers it perfectly.
I have used it since it was first released and it has become an essential part of my location planning. However, I learnt a new feature this past weekend which I thought was really useful from Antony Spencer.
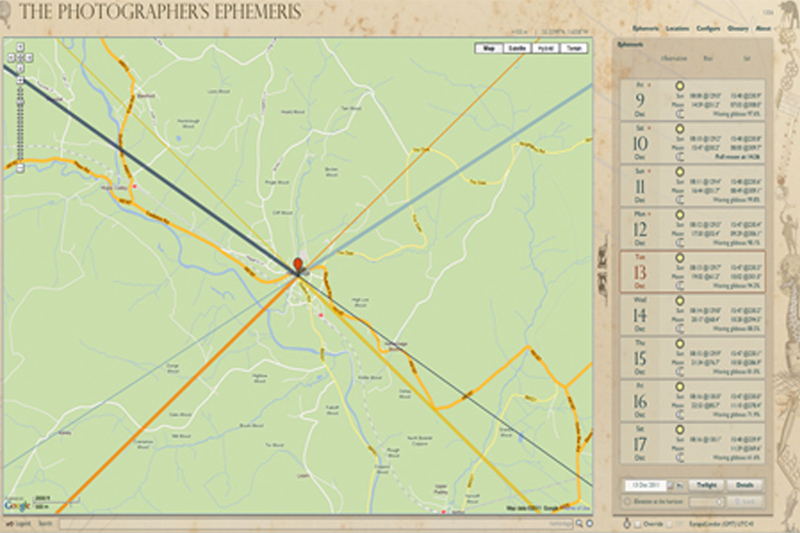
When you click on the map to identify your location in relation to the sunrise and sunset points you see four lines radiating from the pin. These represent the direction of the moon rise and set and the sun rise and set on the day of your choice. I have always viewed the map at quite a close zoom and so these radiating lines disappear out of the edges of the screen. However, Tony explained that if you zoom out on the map, eventually you see the lines terminate. This point is some 160 to 170 miles from the location where you dropped the pin.

Far from being a random point to terminate the line, where the line finishes is the point on the Earths surface where the sun appears at the time of sunrise relative to your chosen location. This is actually quite a useful bit of information for us. If we combine this knowledge with a cloud forecast we can anticipate the type of sunrise we will get.

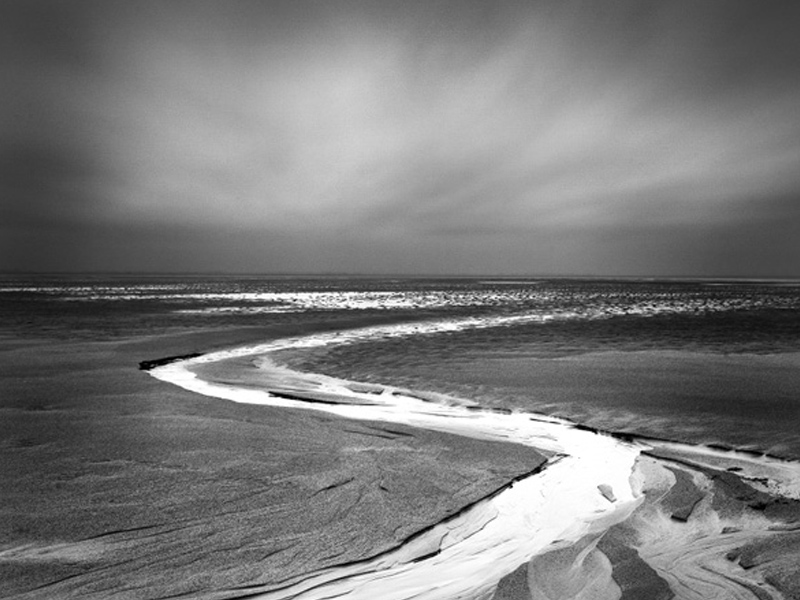
For example, for Antony & I leading a workshop on Dorsets Jurassic Coast last weekend we could see the sun would be breaking past the curve of the Earth close to Paris in relation to our sunrise locations of Lyme Regis & Durdle Door. Looking at the cloud radar on those mornings we could see the cloud between Paris and our stretch of the coast was well broken which therefore hinted at the dramatic sunrise we experienced on Saturday.
It is just a small piece of intelligence but it adds to the thoroughness of our location planning and may well help us to plan which trips may be worthwhile and which might be best missed.